Creating Projects
You can create Editor projects in two ways:
- Create a project based on a number of predefined starter kits.
- Fork an existing project, using it as a starting point.
Create a New Project from a Starter Kit
To create a new project:
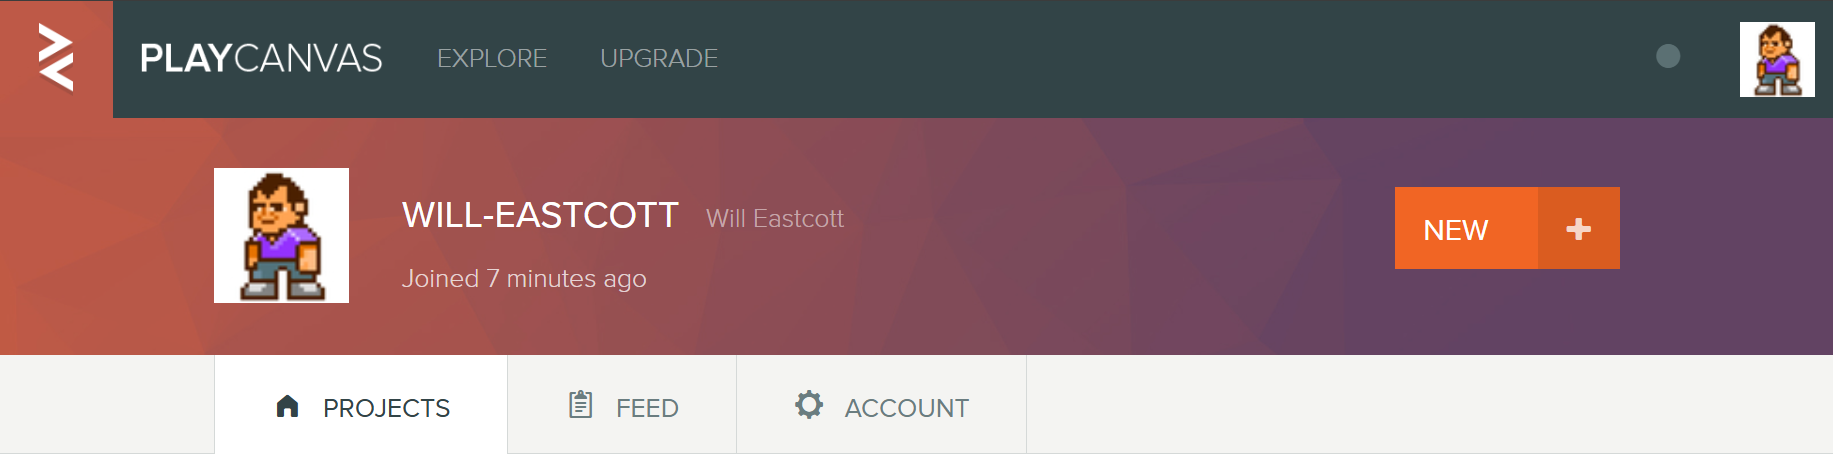
- Log in to your PlayCanvas account and navigate to your User Page
- Click the NEW button in the top right corner
Selecting a Starter Kit
All Editor projects are created based on a starter kit.

PlayCanvas offers several starter kits to get you started quickly:
- Blank Project: A minimal project with a camera, light, sky and some basic shapes
- Model Viewer: A simple starter kit for viewing 3D models
- VR Kit: A starter kit showing how to enter and exit a WebXR-based VR session
- Roll a Ball: A simple physics-based 3D game
- WebXR AR Starter Kit: A starter kit showing how to initiate a WebXR-based AR session
- First Person Shooter: The basis for an FPS-type game or experience
Pick a starter kit, set a name, description and owner, and select whether your project should be public or private. Then hit CREATE.
You can only create private projects with a Personal or Organization plan.
Fork an Existing Project
Forking allows you to create a new project based on an existing public project (or a private project of which you are a team member). This is useful for:
- Using another project as a starting point for your own work
- Creating backups of your own projects
- Learning from example projects created by other developers
- Experimenting with modifications without affecting the original
How to Fork a Project
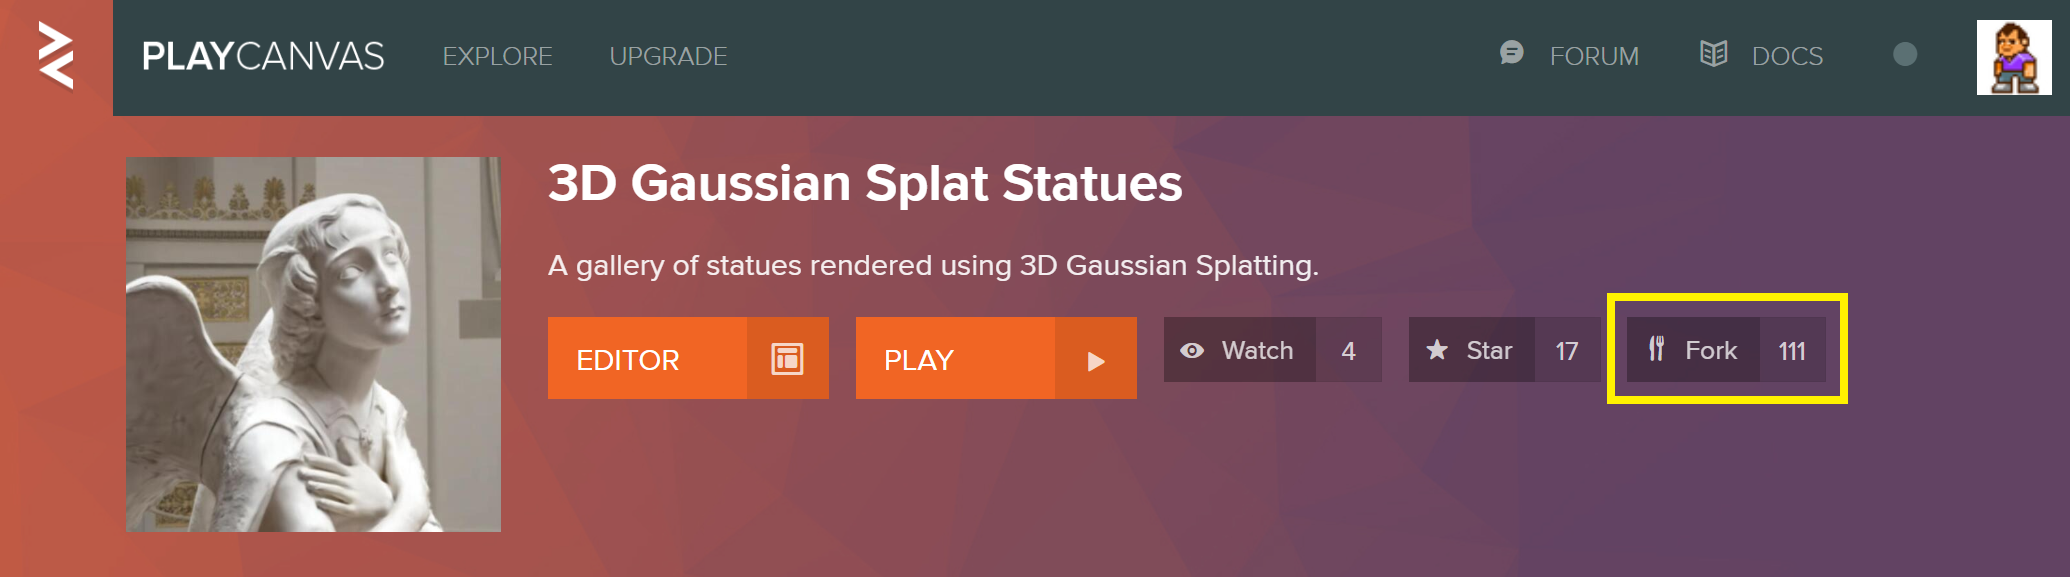
To fork a project:
- Navigate to the project's dashboard page
- Click the Fork button in the dashboard header
- Enter a name for your new project
- Click FORK
What Gets Forked
When you fork a project, the entire main branch is copied to your new project:
- All scenes and their settings
- All assets (textures, models, scripts, etc.)
- Project settings
What Doesn't Get Forked
Forking has some limitations:
- Version control history is not preserved
- Only the main branch is copied (other branches are ignored)
- Team members are not copied (you become the sole owner)
- Development logs and project activity are not copied
After Forking
Once your fork is created:
- You have full ownership and control over the new project
- You can modify, delete, or further develop the project as needed
- The fork is completely independent from the original project
- You can add your own team members and configure project settings
Forked projects appear in your project list just like any other project you've created.
The project dashboard for your fork has a Forked From property. Click the link to visit the dashboard of the upstream project that was originally forked.