ライトハローの作成
完成されたプロジェクトをフォークして詳細をご確認ください。
このシンプルなエフェクトは、シーンに雰囲気を加えるのに最適です。光源に発光性テクスチャを追加するか、ホコリっぽい雰囲気や霧のような効果を与えるために散乱発光を追加するか、または明るい光を見たときの効果をシミュレートすることができます。
作業方法は次のとおりです。発光するハローマテリアルの平面原子を備えた実体を作成します。実体にスクリプトを添付し、そのスクリプトにより、常にカメラの向きに平面が向くようにします。面白くするために、方向性光をシミュレートするために、平面がカメラから向かっていない場合にハローをフェードアウトさせています。
アセット (Asset)
テクスチャ (Texture)
最初に、ハロー用のテクスチャが必要です。この例では、Photoshopなどのアートプログラムで作成された非常にシンプルなぼやけたブロブを使用しました。
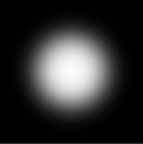
このテクスチャはグローの基礎となります。
マテリアル (Material)
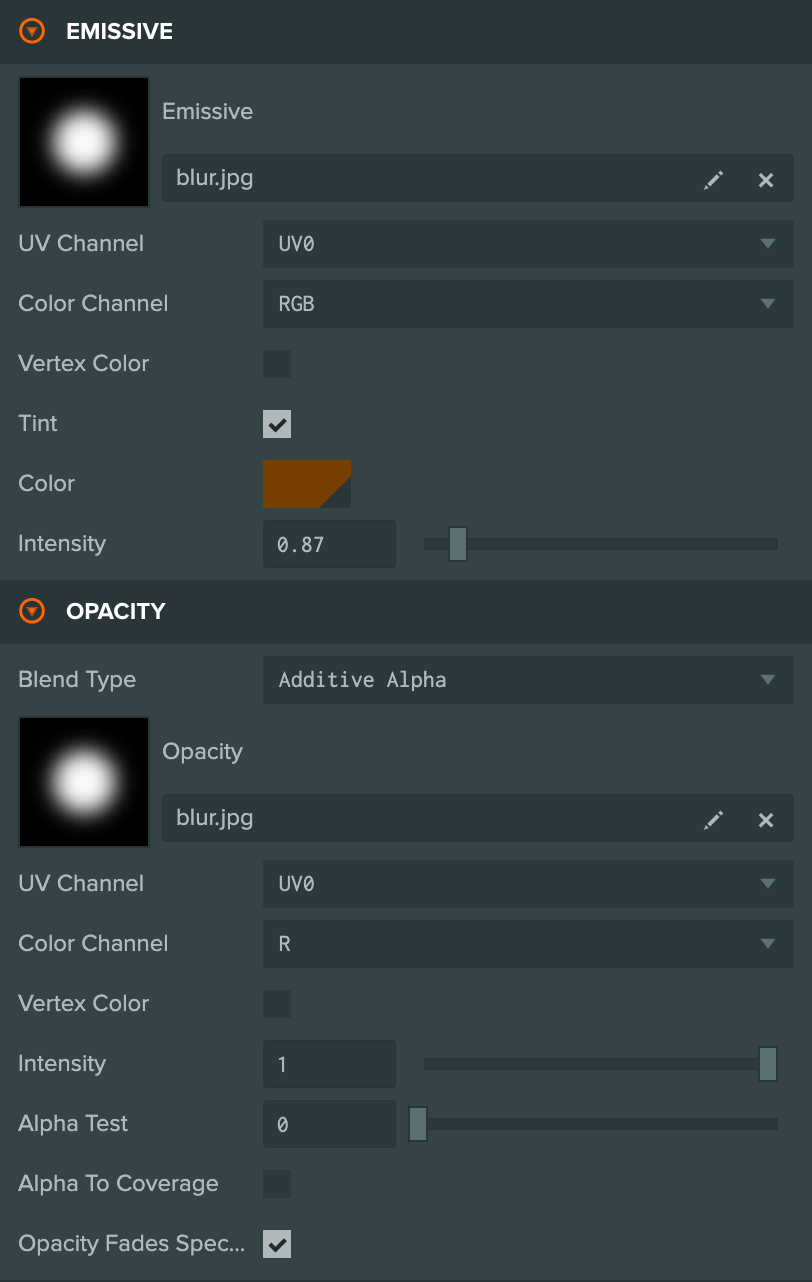
ライトハローのマテリアルでは、Emissiveスロットにblobテクスチャが使用されています。ハローの色を設定するには、tintプロパティを使用します。また、不透明度スロットでブレンディングを有効にし、Color ChannelをRに設定してもblobテクスチャが使用されます。
Blend Typeはアディティブアルファ (Additive Alpha) に設定されています。アディティブ (Additive) の部分は、マテリアルの色が背景の色に加算されることを意味します。つまり、ハローが背景に対して発光する効果が得られます。アルファ (Alpha) の部分は、opacityの値を使用してマテリアルの透明度を設定することを示します。
エンティティ

ハローのエンティティのセットアップも簡単です。ハロースクリプト用の親エンティティと、それにアタッチされた平面プリミティブを持つ子エンティティがあります。この設計を採用する理由は、entity.lookAtを使用してハローの向きを設定するためにコードをシンプルにするためです。平面プリミティブは上向きを向いているため、子エンティティを作成し、この子エンティティに回転を適用して平面がカメラに正しく向かうようにします。
コード
このプロジェクトのコードには特に興味深い2つの特徴があります。
最初に、私たちはハローエンティティを毎フレームカメラの方向に向かせるように更新します。
// Set the glow to always face the camera
this.entity.lookAt(this.camera.getPosition());
次に、ハローが unidirectional とマークされている場合(公開されたスクリプト属性で指定)、ハローがカメラから離れた方向を向いているときには透明になるように不透明度を変更します。実際には、ハローがカメラからより遠ざかるほど、ゆっくりと不透明度を変化させて透明になります。
// If enabled, unidirectional means the glow fades off as it turns away from the camera
if (this.unidirectional) {
    // Get the dot product of the parent direction and the camera direction
    var dot = -1 * tmp.dot(this.camera.forward);
    // If the dot product is less that 0 the glow is facing away from the camera
    if (dot < 0) {
        dot = 0;
    }

    // Override the opacity value on the planes mesh instance to fade to zero as the glow turns away from the camera
    meshes[0].setParameter("material_opacity", dot);
} else {
    // Need to set a default value because of this issue for now: https://github.com/playcanvas/engine/issues/453
    meshes[0].setParameter("material_opacity", 1);
}
pc.MeshInstanceのsetParameterメソッドを使用して、フラグメントシェーダーで使用する値を設定しています。これは現在、エンジンのドキュメントには記載されていない機能です(開発者ドキュメントのリンクでは見つけることはできません)。これは、シェーダー内のユニフォーム変数の名前を正確に知っていることに依存しています。これらの値は変更される可能性があり、このAPIも将来的に変更される可能性があります。しかし、これは非常に便利です。なぜなら、特定のメッシュインスタンスに対してシェーダー内の単一の値を上書きすることができるからです。この場合、すべてのハローは同じマテリアルを使用していますが、各ハローのインスタンスごとに異なる不透明度の値を指定する必要がありますので、重要です。
完全なリストはこちらです。
var Halo = pc.createScript('halo');

Halo.attributes.add('camera', {type: 'entity'});
Halo.attributes.add('unidirectional', {type: 'boolean', default: false});

Halo.tmp = new pc.Vec3();

// initialize code called once per entity
Halo.prototype.initialize = function() {
    // Get the Entity with the plane model on it
    this.plane = this.entity.children[0];

    // Get the parent entity which is used for direction
    this.parent = this.entity.parent;
};

// update code called every frame
Halo.prototype.update = function(dt) {
    var tmp = Halo.tmp;

    // Store the vector the parent is facing (note forwards is negative z)
    tmp.copy(this.parent.forward).scale(-1);

    var meshes = this.plane.render.meshInstances;

    if (this.camera) {

        // Set the glow to always face the camera
        this.entity.lookAt(this.camera.getPosition());

        // If enabled, unidirectional means the glow fades off as it turns away from the camera
        if (this.unidirectional) {
            // Get the dot product of the parent direction and the camera direction
            var dot = -1 * tmp.dot(this.camera.forward);
            // If the dot product is less that 0 the glow is facing away from the camera
            if (dot < 0) {
                dot = 0;
            }

            // Override the opacity value on the planes mesh instance to fade to zero as the glow turns away from the camera
            meshes[0].setParameter("material_opacity", dot);
        } else {
            // Need to set a default value because of this issue for now: https://github.com/playcanvas/engine/issues/453
            meshes[0].setParameter("material_opacity", 1);
        }
    }
};
以上です。シーンに追加するシンプルで綺麗な効果です。詳細はプロジェクトでご確認ください。