Material
Every surface on a 3D model is rendered using a material. The material defines the properties of that surface, such as its color, shininess, bumpiness.
In PlayCanvas, a material is an Asset type which collects all these properties together. By default, it represents a Physical material. This exposes the fundamental properties that can be used to create many different types for visual effects, from smooth plastic, to rough wood, or scratched metal.
We also support our old Phong Material type.
Importing Materials
Materials are imported automatically when you upload a 3D model (e.g. FBX or COLLADA) file into PlayCanvas. Materials will be generated with the same properties as they exist in your 3D modelling tool. If you upload using embedded media (FBX only) all the relevant texture maps will be automatically set up for you.
Creating New Materials
You can create new materials directly from the PlayCanvas Editor interface.
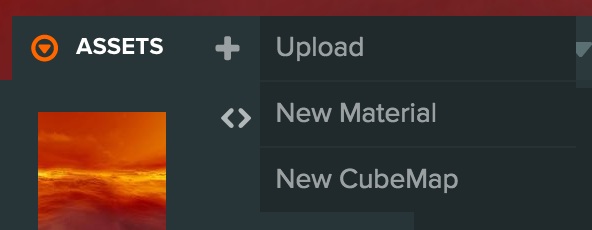
This creates a new material Asset and opens up the material inspector on the right-hand side of the screen.
Selecting a Material
In order to edit a material, first you must select it. This will bring up the material inspector.
You can select a material in the asset panel. You can also select materials from the model inspector or from the model component.
Generally, clicking on a material preview icon will take you to the material inspector.
Assigning Materials
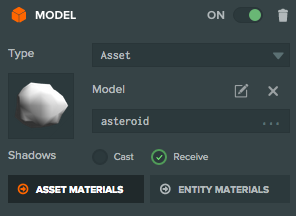
You can modify which materials are assigned to where on a model asset or you can customize the materials of a particular Entity that has a model component.
When you select an Entity with a model component you will see two buttons - Asset Materials and Entity Materials.
Clicking on Asset Materials will select the model asset. You can also select the model asset from the asset panel. The model inspector will show the meshes of model and which material is assigned to each. You can clear a material using the X button, and click the empty slot to assign a new material.
You can also drag and drop material Assets from the asset panel onto the material slot.
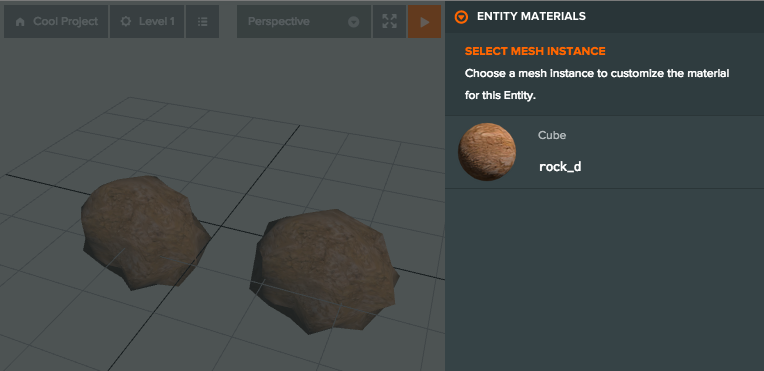
Clicking on Entity Materials will first ask you to select the mesh instance for which you want to customize the material:
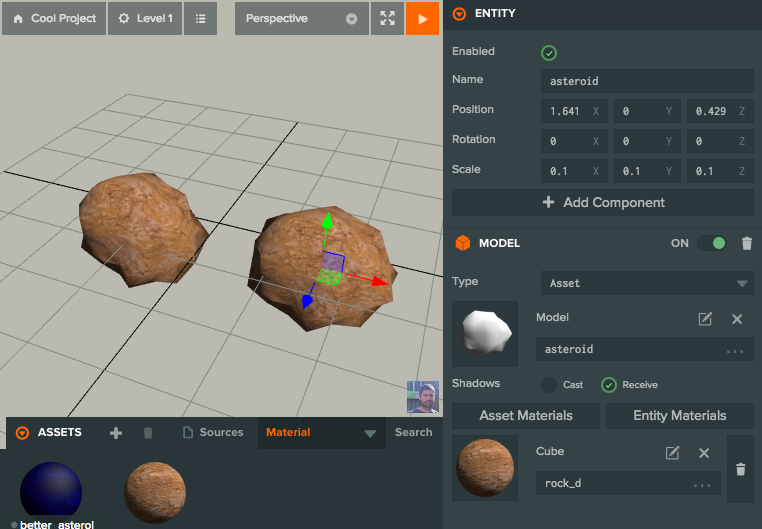
After selecting the mesh instance a new material picker will appear in the model component:
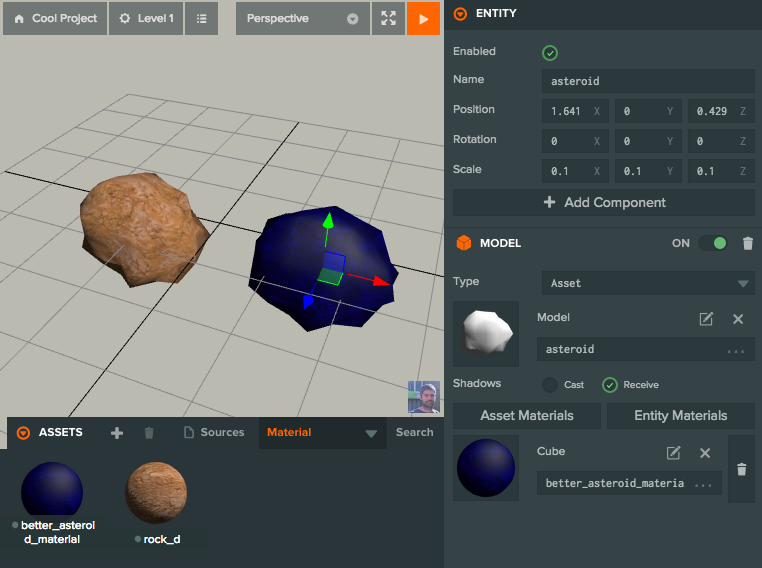
Then you can select a different material for this particular Entity:
Editing a Material

Once you have a material selected you can edit its properties.
Material Maps
Much of editing a material involves creating and assigning textures maps to the various slots detailed on the pages above.
There are a few options that are available on most texture map slots for a material.
Texture Asset
First is the texture asset, upload an image to PlayCanvas and we'll create a texture asset for you. you can assign this to a slot on a material.
Color or Tint Color
Some map slots can be a flat color instead of a texture map. Some slots also support a tint color if a texture is also assigned. If enabled the tint color is multiplied by the color in the texture map slot.
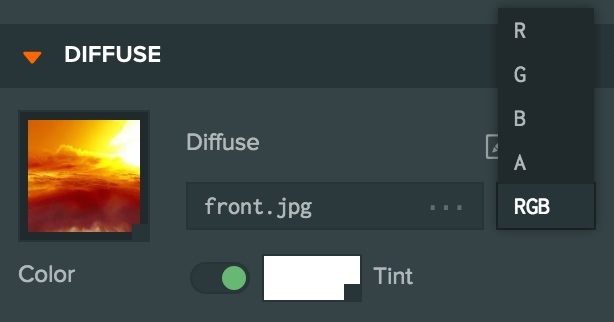
Channel
Some maps only require a single grayscale value e.g. 0.0 -> 1.0. In this case it is possible to select which channel of the texture to use. RGB means that all three channels are used. R, G or B means that only the red, green or blue channel will be used.
Offset & Tiling
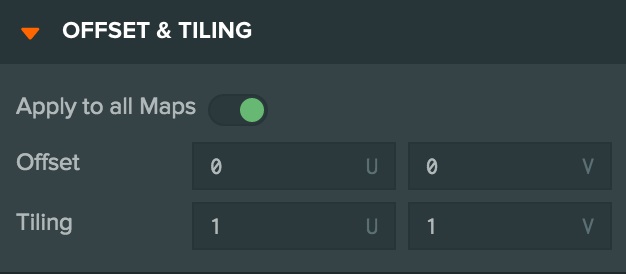
| Property | Description |
|---|---|
| Apply to all Maps | Uncheck this to apply offset and tiling values to individual maps. |
| Offset | The offset in U and V to apply to the first UV channel referenced by maps in this material. |
| Tiling | The scale in U and V to apply to the first UV channel referenced by maps in this material. |
Ambient
Ambient properties determine how the material appears in ambient light.
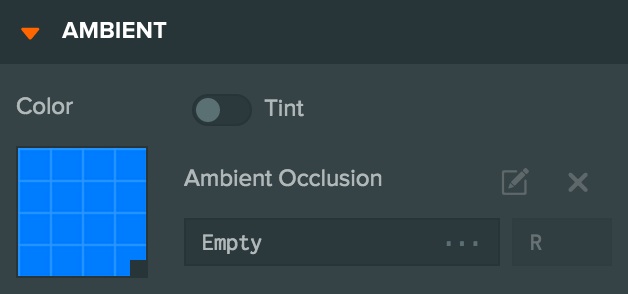
| Property | Description |
|---|---|
| Tint | Check this to multiply the scene's global ambient color with a material specific color. |
| Color | The tint color to multiply the scene's global ambient color. |
| AO Texture | An ambient occlusion map containing pre-baked ambient occlusion. |
Diffuse
Diffuse properties define the how a material reflects diffuse light emitted by dynamic light sources in the scene.

| Property | Description |
|---|---|
| Texture | The diffuse map that specifies the per-pixel diffuse material color. If no diffuse map is set, the diffuse color is used instead. |
| Tint | Check this to modulate the material's diffuse map with a material specific diffuse color. |
| Color | If no diffuse map is set, this is the diffuse color of the material. If a diffuse map is set and tint is enabled, this color modulates the material's diffuse map. |
Specular
Specular properties defines the color of the specular highlights. i.e. the shininess
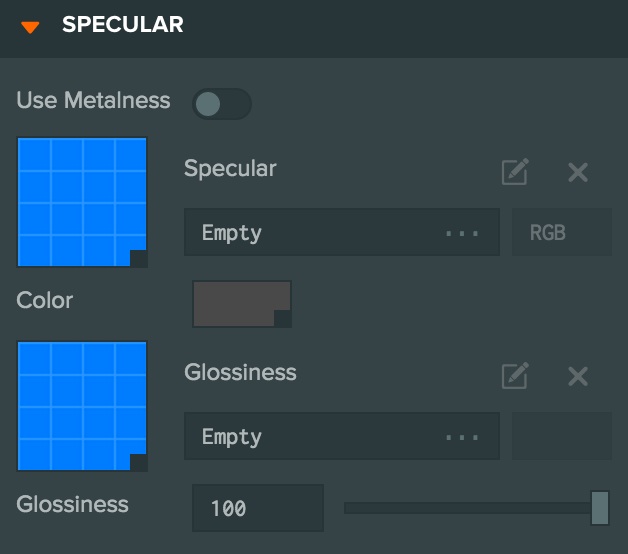
| Property | Description |
|---|---|
| Use Metalness | Toggle between specular and metalness workflow. |
| Specular Map | The specular map that specifies the per-pixel specular color. If no specular map is set, the specular color is used instead. |
| Tint | Check this to modulate the material's specular map with a material specific specular color. |
| Color | If no specular map is set, this is the specular color of the material. If a specular map is set and tint is enabled, this color modulates the material's specular map. |
| Metalness Map | [Only when using metalness] This map specifies per-pixel metalness values. A value of 1 is metal and a value of 0 is non-metal. |
| Gloss Map | The gloss map that specifies a per-pixel shininess value. The gloss map is modulated by the shininess property. |
| Glossiness | A value determining the smoothness of a surface. For smaller shininess values, a surface is rougher and specular highlights will be broader. For larger shininess values, a surface is smoother and will exhibit more concentrated specular highlights (as the surface is polished and shiny). |
Emissive
Emissive properties control how the material emits light (as opposed to reflecting light).
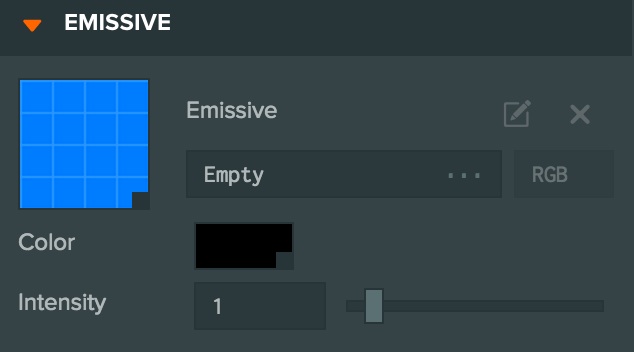
| Property | Description |
|---|---|
| Texture | The emissive map that specifies the per-pixel emissive color. If no emissive map is set, the emissive color is used instead. |
| Tint | Check this to modulate the material's emissive map with a material specific emissive color. |
| Color | If no emissive map is set, this is the emissive color of the material. If an emissive map is set and tint is enabled, this color modulates the material's emissive map. |
| Intensity | A multiplier for emissive color that can achieve overbright effects for exceptionally bright emissive materials. |
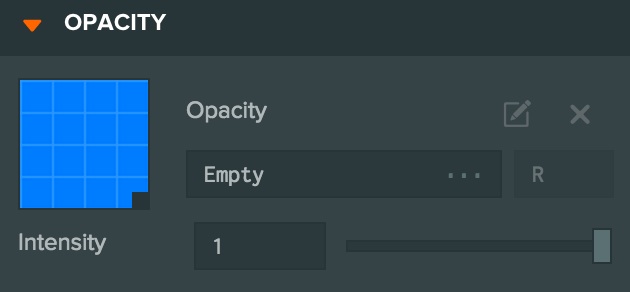
Opacity
Opacity sets the transparency level.
| Property | Description |
|---|---|
| Texture | The opacity map that specifies the per-pixel opacity. The opacity map is modulated by the 'Amount' property. |
| Intensity | The opacity of the material. This is a value between 0 (completely transparent) and 1 (completely opaque. It defaults to 1. |
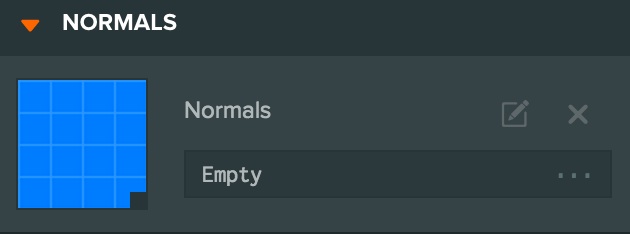
Normals
Use this to specify normal maps (these determine bumpiness - note you have to use normal maps in PlayCanvas, not height maps).
| Property | Description |
|---|---|
| Bumpiness | The strength of the applied normal map. This is a value between 0 (the normal map has no effect) and 2 (the effect of the normal map is exaggerated). It defaults to 1. |
| Texture | The normal map that specifies the per-pixel surface normals. The normal map is modulated by the 'Bumpiness' property. |
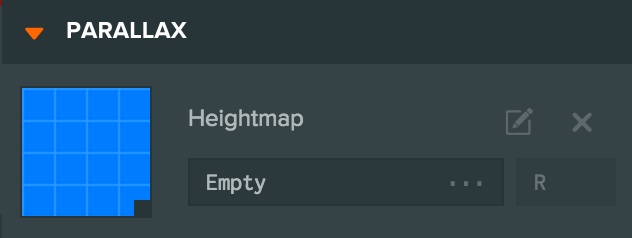
Parallax
A parallax map gives further realism to a normal map by giving the illusion of depth to a surface. Note that parallax options are only enabled if you have set a normal map on the material.
| Property | Description |
|---|---|
| Height Map | The height map that specifies the per-pixel strength of the parallax effect. White is full height and black is zero height. |
| Strength | The strength of a parallax effect (a value between 0 and 2, defaulting to 1). |
Environment
Environment properties determine how a material reflects the environment.

| Property | Description |
|---|---|
| Sphere Map | A sphere map texture asset that approximates environment reflection. If a sphere map is set, the Cube Map property will be hidden (since these properties are mutually exclusive). |
| Cube Map | A cube map texture asset that approximates environment reflection (with greater accuracy than is possible with a sphere map). If a cube map is set, the Sphere Map property will be hidden (since these properties are mutually exclusive). |
| Reflectivity | A factor to determine what portion of light is reflected from the material. This value defaults to 1 (full reflectivity). |
| Refraction | A factor to determine what portion of light passes through the material. |
| Index of Refraction | Determines the amount of distortion of light passing through the material. |
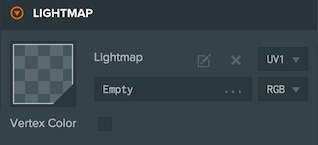
Light Map
Light maps contain pre-baked diffuse lighting. Using light maps is considered an optimization in that runtime dynamic lighting calculations can be pre-calculated.
| Property | Description |
|---|---|
| Texture | The lightmap texture that contains pre-baked diffuse lighting. The lightmap requires the material to be applied to a mesh that has two UV sets. The lightmap uses the second set of UVs. |
Other Render States
Other Render States gives additional controls over how a mesh is rendered with the specified material.
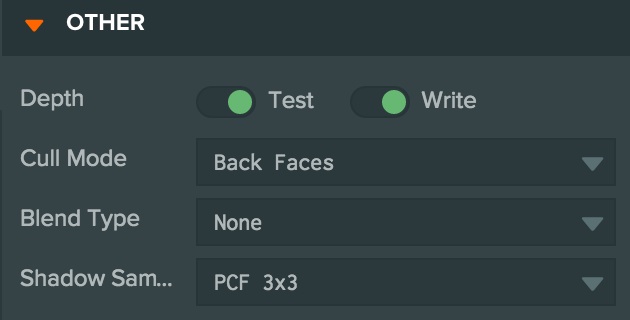
| Property | Description |
|---|---|
| Depth Test | If checked, when a mesh with the material is rendered, a per pixel check is performed to determine if the pixel passes the engine's depth test. By default, the test is that the pixel must have a z depth less than or equal to whatever is already in the depth buffer. In other words, the mesh is only visible if nothing is in front of it. If unchecked, the mesh is rendered regardless of what is already in the depth buffer. Defaults to on. |
| Depth Write | If checked, when a mesh with the material is rendered, its depth information is written to the depth buffer. This ensures that when subsequent meshes are rendered, they can be successfully depth tested against meshes rendered with this material. Defaults to on. |
| Cull | Options are:
|
| Blend Type | Options are:
|
| Shadow Sampling | Options are:
|