Localization
This page describes how to localize your Text Elements to different languages.
Localization Files
For each language you want to support you will need to add a JSON asset that contains the translated phrases for that language. PlayCanvas supports a specific format for the JSON asset. Open the Editor Settings and under LOCALIZATION click CREATE NEW ASSET to generate a new JSON asset in the expected format.
The JSON asset looks like so:
{
    "header": {
        "version": 1
    },
    "data": [
        {
            "info": {
                "locale": "en-US"
            },
            "messages": {
                "key": "Single key translation",
                "key plural": [
                    "One key translation",
                    "Translation for {number} keys"
                ]
            }
        }
    ]
}
You can specify a different locale in the info part of the JSON file. The messages section contains key - value pairs for each localized phrase. The key is the identifier for that phrase and the text is the translated text for that key.
PlayCanvas also supports plural forms for each locale. To specify plural forms for each phrase you need to pass an array of strings for each plural form instead of a single string. Each language has different plural forms which you can find here. Each array element corresponds to a plural form for that language. For example for English:
"key plural": [
    "One item", // plural form ONE
    "Not one" // plural form OTHER
]
For Arabic:
"key plural": [
    "Zero items", // plural form ZERO
    "One item", // plural form ONE
    "Two items", // plural form TWO
    "Few items", // plural form FEW
    "Many items", // plural form MANY
    "Rest" // plural form OTHER
]
Refer to the language tables here to determine the rules for each language.
After you have created your localization JSON assets you need to add them to the Editor Settings under LOCALIZATION.
Localizing Text Elements
Enable the Localized checkbox for a Text Element in order to use the Localization Files to translate its text. The text you enter in the Key field of the Text Element should match the key in the localization file.
To test your localization you can change the Locale field under the Editor Settings. That should update your Editor viewport to that locale and also this will update the locale used when you launch your application. This field is not used when you publish or download a build.
Localizing Numbers
Different locales will have different rules on how numbers should be formatted. For example, English (UK and US) would format 1000000 as 1,000,000 and Dutch would format with a decimal instead 1.000.000.
JavaScript provides a built in function to do this formatting based on the locale code, Number.protoype.toLocaleString().
An example of usage:
const numberOfItems = 1000;
const currentLocale = this.app.i18n.locale;
const localeNumberString = numberOfItems.toLocaleString(currentLocale);

console.log(localeNumberString);
// expected output assuming currentLocale is en-US: "1,000"
Localized Fonts
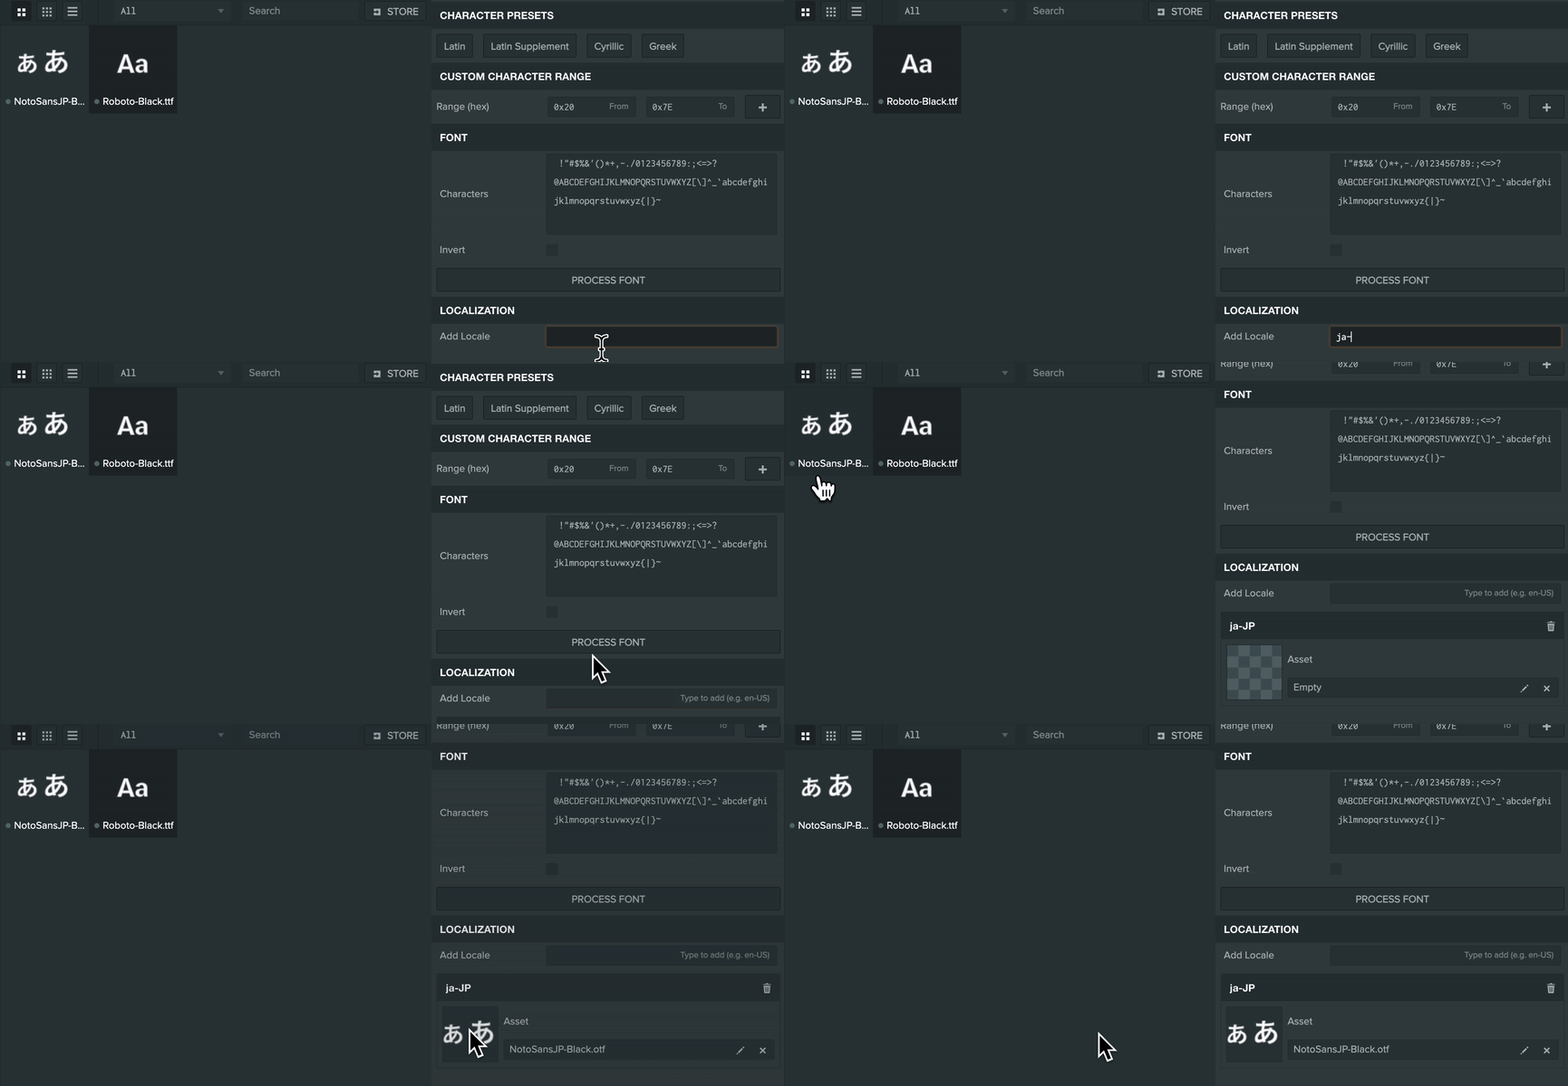
Often you will find that different languages might require different fonts to be used. In order to define a different font for a specific language select the primary font Asset you are using for your Text Element and towards the bottom of the Asset Attributes you will find the Localization section for that font Asset. Type the desired locale and assign a new font Asset for that locale.
At runtime when the application switches to a different locale it will load the font Asset you defined for that locale.

Language Notes
There are some languages that require specific workflows or considerations that are listed below.
Thai
For word wrapping to work correctly in UI Text Elements with Thai text, zero width characters (Unicode U+200B) need be added between words by the translators.
The Thai language has no spaces between words and the same run of glyphs can be split into different combinations of words depending on the context of the sentence.
Being able to split Thai text correctly computationally is still an unsolved problem and usually done via a dictionary based approach which can be expensive to do at runtime.
The thai-language.com site also has a separate tool to add the zero width characters between words using a dictionary based approach if you have existing text.
Right to left Languages
Right to left languages will need extra scripts for support that can be found in this example project.
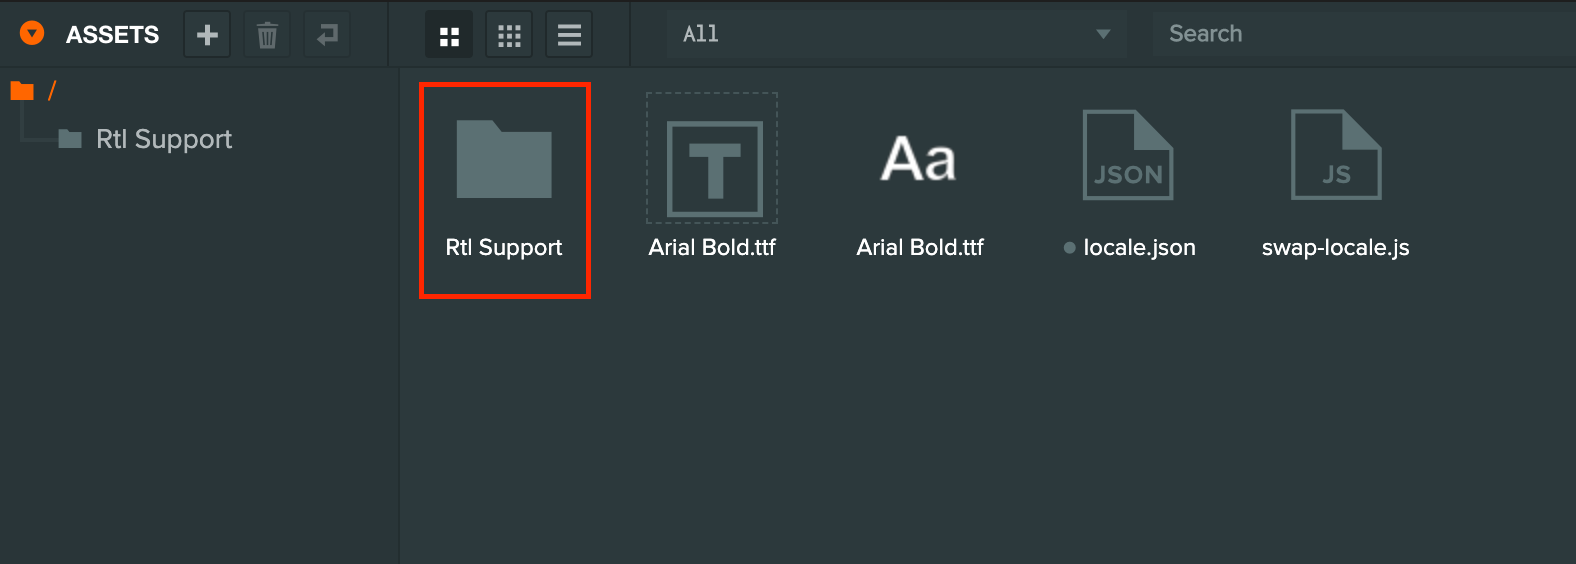
In the example project, there is a folder called 'Rtl Support' that needs to be copied and pasted into your project.

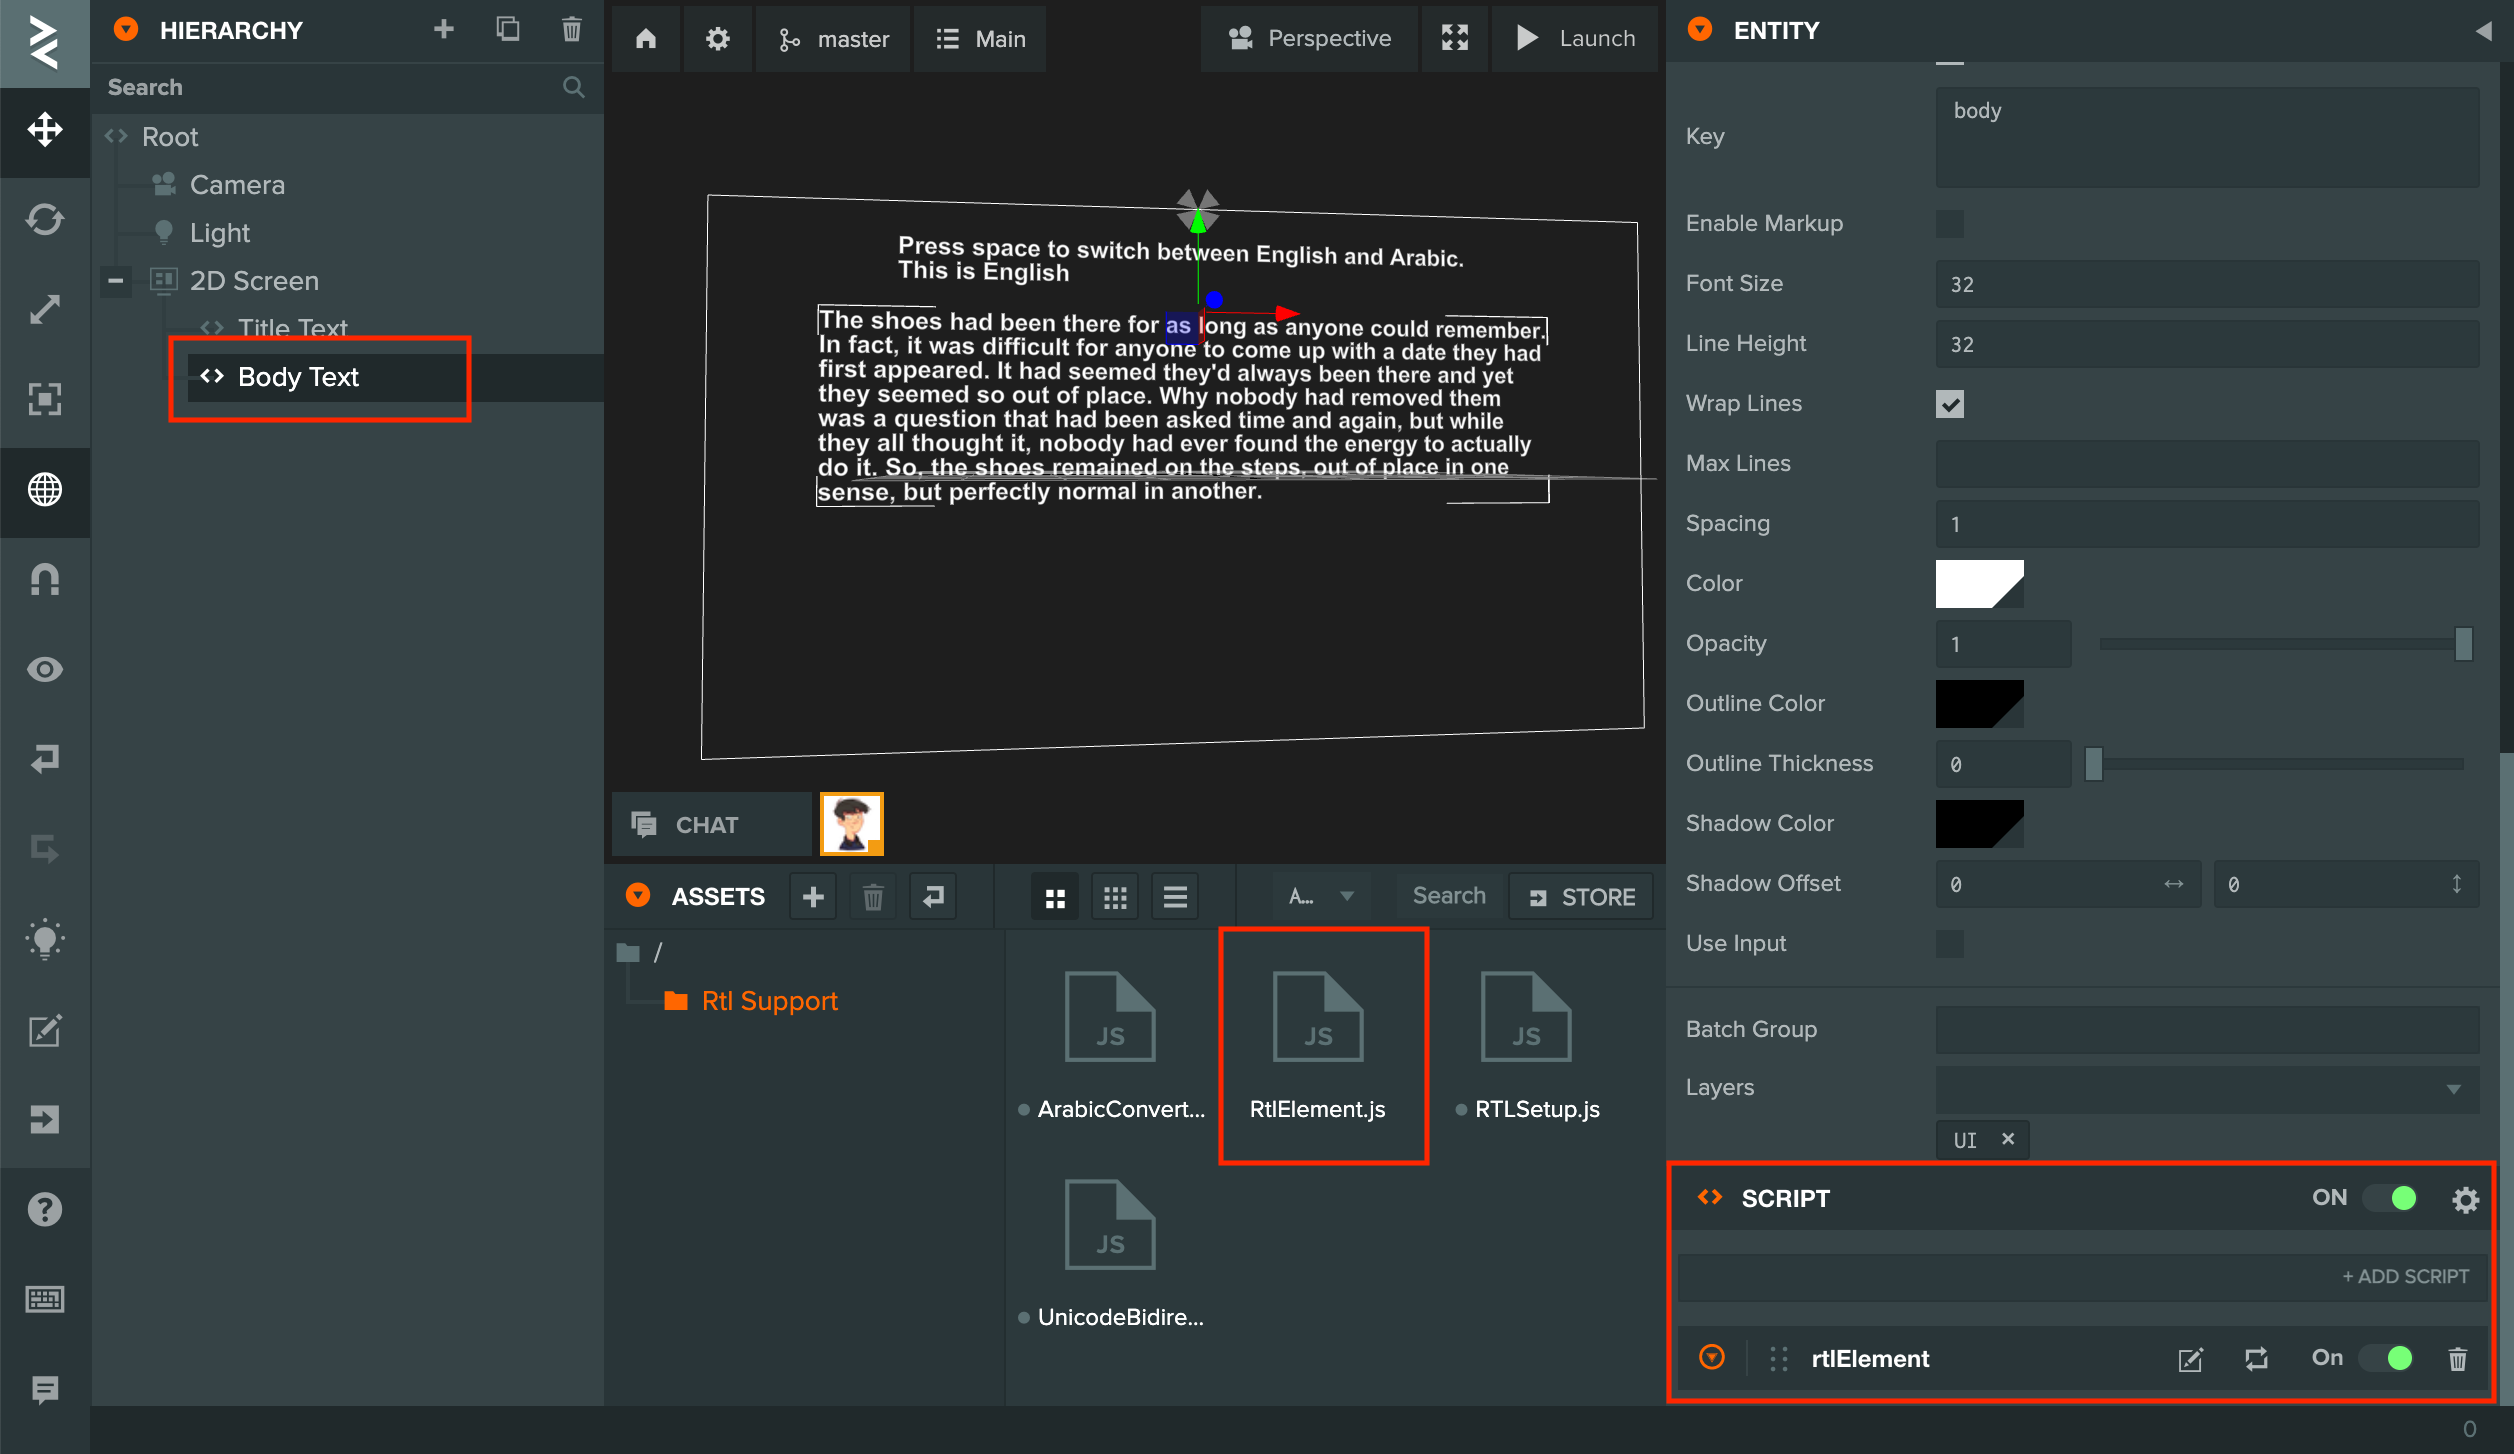
In the folder, there is Script Type called 'RtlElement' which should be added to any Entity with a text element component that would be used to show right to left text.

Engine
To retrieve the text from a key in script, use the APIs:
- pc.I18n#getText To retrieve a non-plural or first text string in a plural list
- pc.I18n#getPluralText To retrieve a plural text string based on the number
For the complete engine API reference for localization see this page.