Engineをスタンドアロンで使用する
PlayCanvas Engineでアプリケーションを構築する際に、エディタを使用せずに構築することが可能です。Engineを直接使用して構築されたアプリケーションの例をいくつか示します。
- glTF Viewer [GitHub]
- SuperSplat [GitHub]
- ...そしてもちろん、PlayCanvas Editorそのものもです!
このページでは、開始方法を説明します。
始める前に、Node.jsがインストールされていることを確認してください。
プロジェクトをセットアップする際には、考慮すべき主要な2つのオプションがあります。
オプション1: ビルドツールとNPM
これは、ほとんどの開発者に適した推奨されるセットアップです。
ビルドツールは、アプリケーションを幅広いブラウザで実行できる最適化されたパッケージにバンドルできます。webpack、Rollup、esbuildなど、多くのビルドツールがあり、PlayCanvasはそれらすべてで動作します。ここでは、モダンなウェブプロジェクト向けに、より高速で無駄のない開発体験を提供することを目指す人気のビルドツールであるViteを使用します。
まず、JavaScriptとTypeScriptのどちらで開発するかを選択します。
- JavaScript
- TypeScript
-
ターミナル/コマンドプロンプトを開き、アプリ用のフォルダを作成してその中に
cdします。 -
playcanvasとviteをインストールします。npm install playcanvas vite --save-dev -
index.htmlを作成し、これを貼り付けます。index.html<!DOCTYPE html>
<html lang="en">
<head>
<meta charset="utf-8">
<style>
body { margin: 0; overflow: hidden; }
</style>
</head>
<body>
<script type="module" src="main.js"></script>
<canvas id='application'></canvas>
</body>
</html> -
main.jsを作成し、これを貼り付けます。main.jsimport * as pc from 'playcanvas';
// create an application
// アプリケーションを作成します
const canvas = document.getElementById('application');
const app = new pc.Application(canvas);
app.setCanvasResolution(pc.RESOLUTION_AUTO);
app.setCanvasFillMode(pc.FILLMODE_FILL_WINDOW);
app.start();
// create a camera
// カメラを作成します
const camera = new pc.Entity();
camera.addComponent('camera', {
clearColor: new pc.Color(0.3, 0.3, 0.7)
});
camera.setPosition(0, 0, 3);
app.root.addChild(camera);
// create a light
// ライトを作成します
const light = new pc.Entity();
light.addComponent('light');
light.setEulerAngles(45, 45, 0);
app.root.addChild(light);
// create a box
// ボックスを作成します
const box = new pc.Entity();
box.addComponent('model', {
type: 'box'
});
app.root.addChild(box);
// rotate the box
// ボックスを回転させます
app.on('update', (dt) => box.rotate(10 * dt, 20 * dt, 30 * dt)); -
Vite開発サーバーを実行します。
npx viteこれにより、
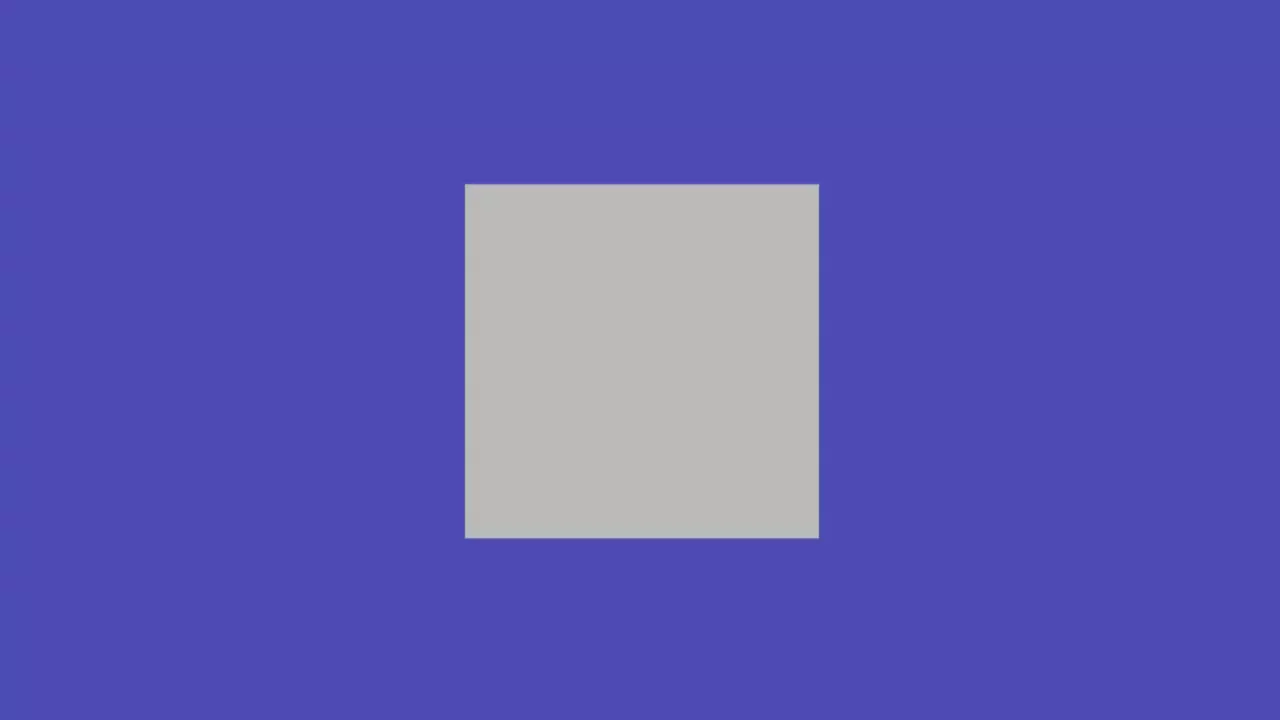
http://localhost:5173でサーバーが起動します。ブラウザでこのURLにアクセスすると、以下が表示されます。 ヒント
ヒントソースファイルを保存するたびに、タブが自動的に再読み込みされます。
-
ターミナル/コマンドプロンプトを開き、アプリ用のフォルダを作成してその中に
cdします。 -
playcanvasとviteをインストールします。npm install playcanvas vite --save-dev -
index.htmlを作成し、これを貼り付けます。index.html<!DOCTYPE html>
<html lang="en">
<head>
<meta charset="utf-8">
<style>
body { margin: 0; overflow: hidden; }
</style>
</head>
<body>
<script type="module" src="main.ts"></script>
<canvas id='application'></canvas>
</body>
</html> -
main.tsを作成し、以下を貼り付けます。main.tsimport * as pc from 'playcanvas';
// アプリケーションを作成
const canvas = document.getElementById('application') as HTMLCanvasElement;
const app = new pc.Application(canvas);
app.setCanvasResolution(pc.RESOLUTION_AUTO);
app.setCanvasFillMode(pc.FILLMODE_FILL_WINDOW);
app.start();
// カメラを作成
const camera = new pc.Entity();
camera.addComponent('camera', {
clearColor: new pc.Color(0.3, 0.3, 0.7)
});
camera.setPosition(0, 0, 3);
app.root.addChild(camera);
// ライトを作成
const light = new pc.Entity();
light.addComponent('light');
light.setEulerAngles(45, 45, 0);
app.root.addChild(light);
// ボックスを作成
const box = new pc.Entity();
box.addComponent('model', {
type: 'box'
});
app.root.addChild(box);
// ボックスを回転
app.on('update', (dt: number) => box.rotate(10 * dt, 20 * dt, 30 * dt)); -
Vite開発サーバーを実行します。
npx viteこれにより、サーバーが
http://localhost:5173で起動します。ブラウザでこのURLにアクセスすると、以下が表示されます。 ヒント
ヒントソースファイルを保存するたびに、タブが自動的にリロードされます。
オプション2:インポートマップとCDN
インポートマップは、JavaScriptモジュール内のモジュール指定子を解決できます。このインポートステートメントを考えてみましょう。
import * as pc from 'playcanvas';
インポートマップは、「playcanvas」をブラウザによって動的にロードできるCDNでホストされたエンジンのビルドに解決できます。これは、オプション1で説明したビルド手順をスキップできることを意味します。
まず、JavaScriptとTypeScriptのどちらで開発するかを選択します。
- JavaScript
- TypeScript
-
Terminal/Command Promptを開き、アプリのフォルダを作成し、その中に
cdします。 -
index.htmlを作成し、以下を貼り付けます。index.html<!DOCTYPE html>
<html lang="en">
<head>
<meta charset="utf-8">
<style>
body { margin: 0; overflow: hidden; }
</style>
<script type="importmap">
{
"imports": {
"playcanvas": "https://cdn.jsdelivr.net/npm/playcanvas/+esm"
}
}
</script>
</head>
<body>
<script type="module" src="main.js"></script>
<canvas id='application'></canvas>
</body>
</html> -
main.jsを作成し、以下を貼り付けます。main.jsimport * as pc from 'playcanvas';
// アプリケーションを作成
const canvas = document.getElementById('application');
const app = new pc.Application(canvas);
app.setCanvasResolution(pc.RESOLUTION_AUTO);
app.setCanvasFillMode(pc.FILLMODE_FILL_WINDOW);
app.start();
// カメラを作成
const camera = new pc.Entity();
camera.addComponent('camera', {
clearColor: new pc.Color(0.3, 0.3, 0.7)
});
camera.setPosition(0, 0, 3);
app.root.addChild(camera);
// ライトを作成
const light = new pc.Entity();
light.addComponent('light');
light.setEulerAngles(45, 45, 0);
app.root.addChild(light);
// ボックスを作成
const box = new pc.Entity();
box.addComponent('model', {
type: 'box'
});
app.root.addChild(box);
// ボックスを回転させる
app.on('update', (dt) => box.rotate(10 * dt, 20 * dt, 30 * dt)); -
serveを実行します:npx serveこれにより、
http://localhost:3000でサーバーが起動します。ブラウザでこのURLにアクセスすると、次の表示が表示されます:
-
ターミナル/コマンドプロンプトを開き、アプリ用のフォルダーを作成してその中に
cdします。 -
index.htmlを作成し、これを貼り付けます:index.html<!DOCTYPE html>
<html lang="en">
<head>
<meta charset="utf-8">
<style>
body { margin: 0; overflow: hidden; }
</style>
<script type="importmap">
{
"imports": {
"playcanvas": "https://cdn.jsdelivr.net/npm/playcanvas/+esm"
}
}
</script>
</head>
<body>
<script type="module" src="main.js"></script>
<canvas id='application'></canvas>
</body>
</html> -
main.tsを作成し、これを貼り付けます:main.tsimport * as pc from 'playcanvas';
// アプリケーションを作成します
const canvas = document.getElementById('application') as HTMLCanvasElement;
const app = new pc.Application(canvas);
app.setCanvasResolution(pc.RESOLUTION_AUTO);
app.setCanvasFillMode(pc.FILLMODE_FILL_WINDOW);
app.start();
// カメラを作成します
const camera = new pc.Entity();
camera.addComponent('camera', {
clearColor: new pc.Color(0.3, 0.3, 0.7)
});
camera.setPosition(0, 0, 3);
app.root.addChild(camera);
// ライトを作成します
const light = new pc.Entity();
light.addComponent('light');
light.setEulerAngles(45, 45, 0);
app.root.addChild(light);
// ボックスを作成します
const box = new pc.Entity();
box.addComponent('model', {
type: 'box'
});
app.root.addChild(box);
// ボックスを回転させます
app.on('update', (dt: number) => box.rotate(10 * dt, 20 * dt, 30 * dt)); -
playcanvasとtypescriptをインストールします:npm install playcanvas typescript --save-dev -
main.tsをmain.jsにコンパイルします:npx tsc main.ts --lib esnext,dom --module esnext --moduleResolution node -
serveを実行します:npx serveこれにより、
http://localhost:3000でサーバーが起動します。ブラウザでこのURLにアクセスすると、次の表示が表示されます: