Physics Basics
PlayCanvas incorporates a very powerful physics engine called ammo.js. This is a browser port of the open source C++ Bullet physics engine.
PlayCanvas provides the rigidbody and collision components to set up physics simulations.
Enabling Physics
By default, a new PlayCanvas project does not include ammo.js modules. This is because ammo.js weighs in at several hundred kilobytes and your app should not have to load this library if it is not needed.
You can import ammo.js modules into your project using the import button on the Scene Settings panel:
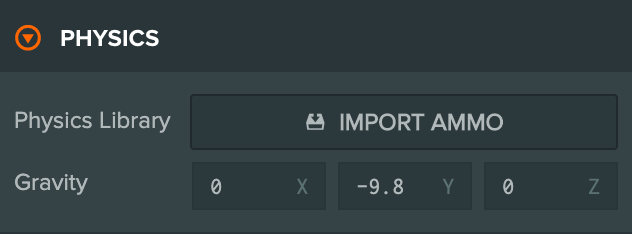
This will import the default build of ammo.js provided by PlayCanvas. However please note it is possible to compile your own version of ammo.js and add it to your project instead. For more information see this page.
For details on migrating legacy projects to the latest ammo.js see this page.
Gravity
In the same Settings panel, you can set global gravity of the physics simulation. Gravity is a constant force applied to all rigid bodies in your scene. By default, this is set to -9.81 in the world's negative Y axis (straight down, in other words). This default approximates Earth gravity. But you may want to increase or decrease this value. For example, for a game set in space, you will probably want to set gravity to zero.
Units of Measurement
By default, the PlayCanvas physics engine interprets 1 unit as 1 meter. Therefore, for objects to fall at a rate that appears to be physically accurate, you should ensure that your scenes size objects appropriately.
For example, if your game features a character that is 1.8m tall, he should be 1.8 units high in the Editor's 3D view.
Rigid Bodies
You can make any entity in your scene participate in the physics simulation. Just add a rigidbody component and a collision component. The rigidbody component specifies a type:
- Static - A physical object that never moves
- Dynamic - A physical object that will move in response to an applied force
- Kinematic - A physical object that can only be positioned explicitly via the API
It also specifies physical properties like mass, friction and restitution (essentially a measure of 'bounciness').
The collision component specifies the physical shape of the body. Note that a rigid body's physical shape does not have to match its graphical shape. It is typical for physical representations of objects to be much simpler than the graphical. The available collision component types are:
- Box
- Sphere
- Capsule
- Cylinder
- Mesh
- Cone
- Compound
Creating a Static Ground
Most of the time, you will want to create some kind of static physical environment. For example, a race track or a football pitch. The simplest example is a flat plane. PlayCanvas doesn't expose a plane-type collision primitive but it does provide a box primitive. Here is how to configure a 1 unit high 10x10 box that is a static rigid body:
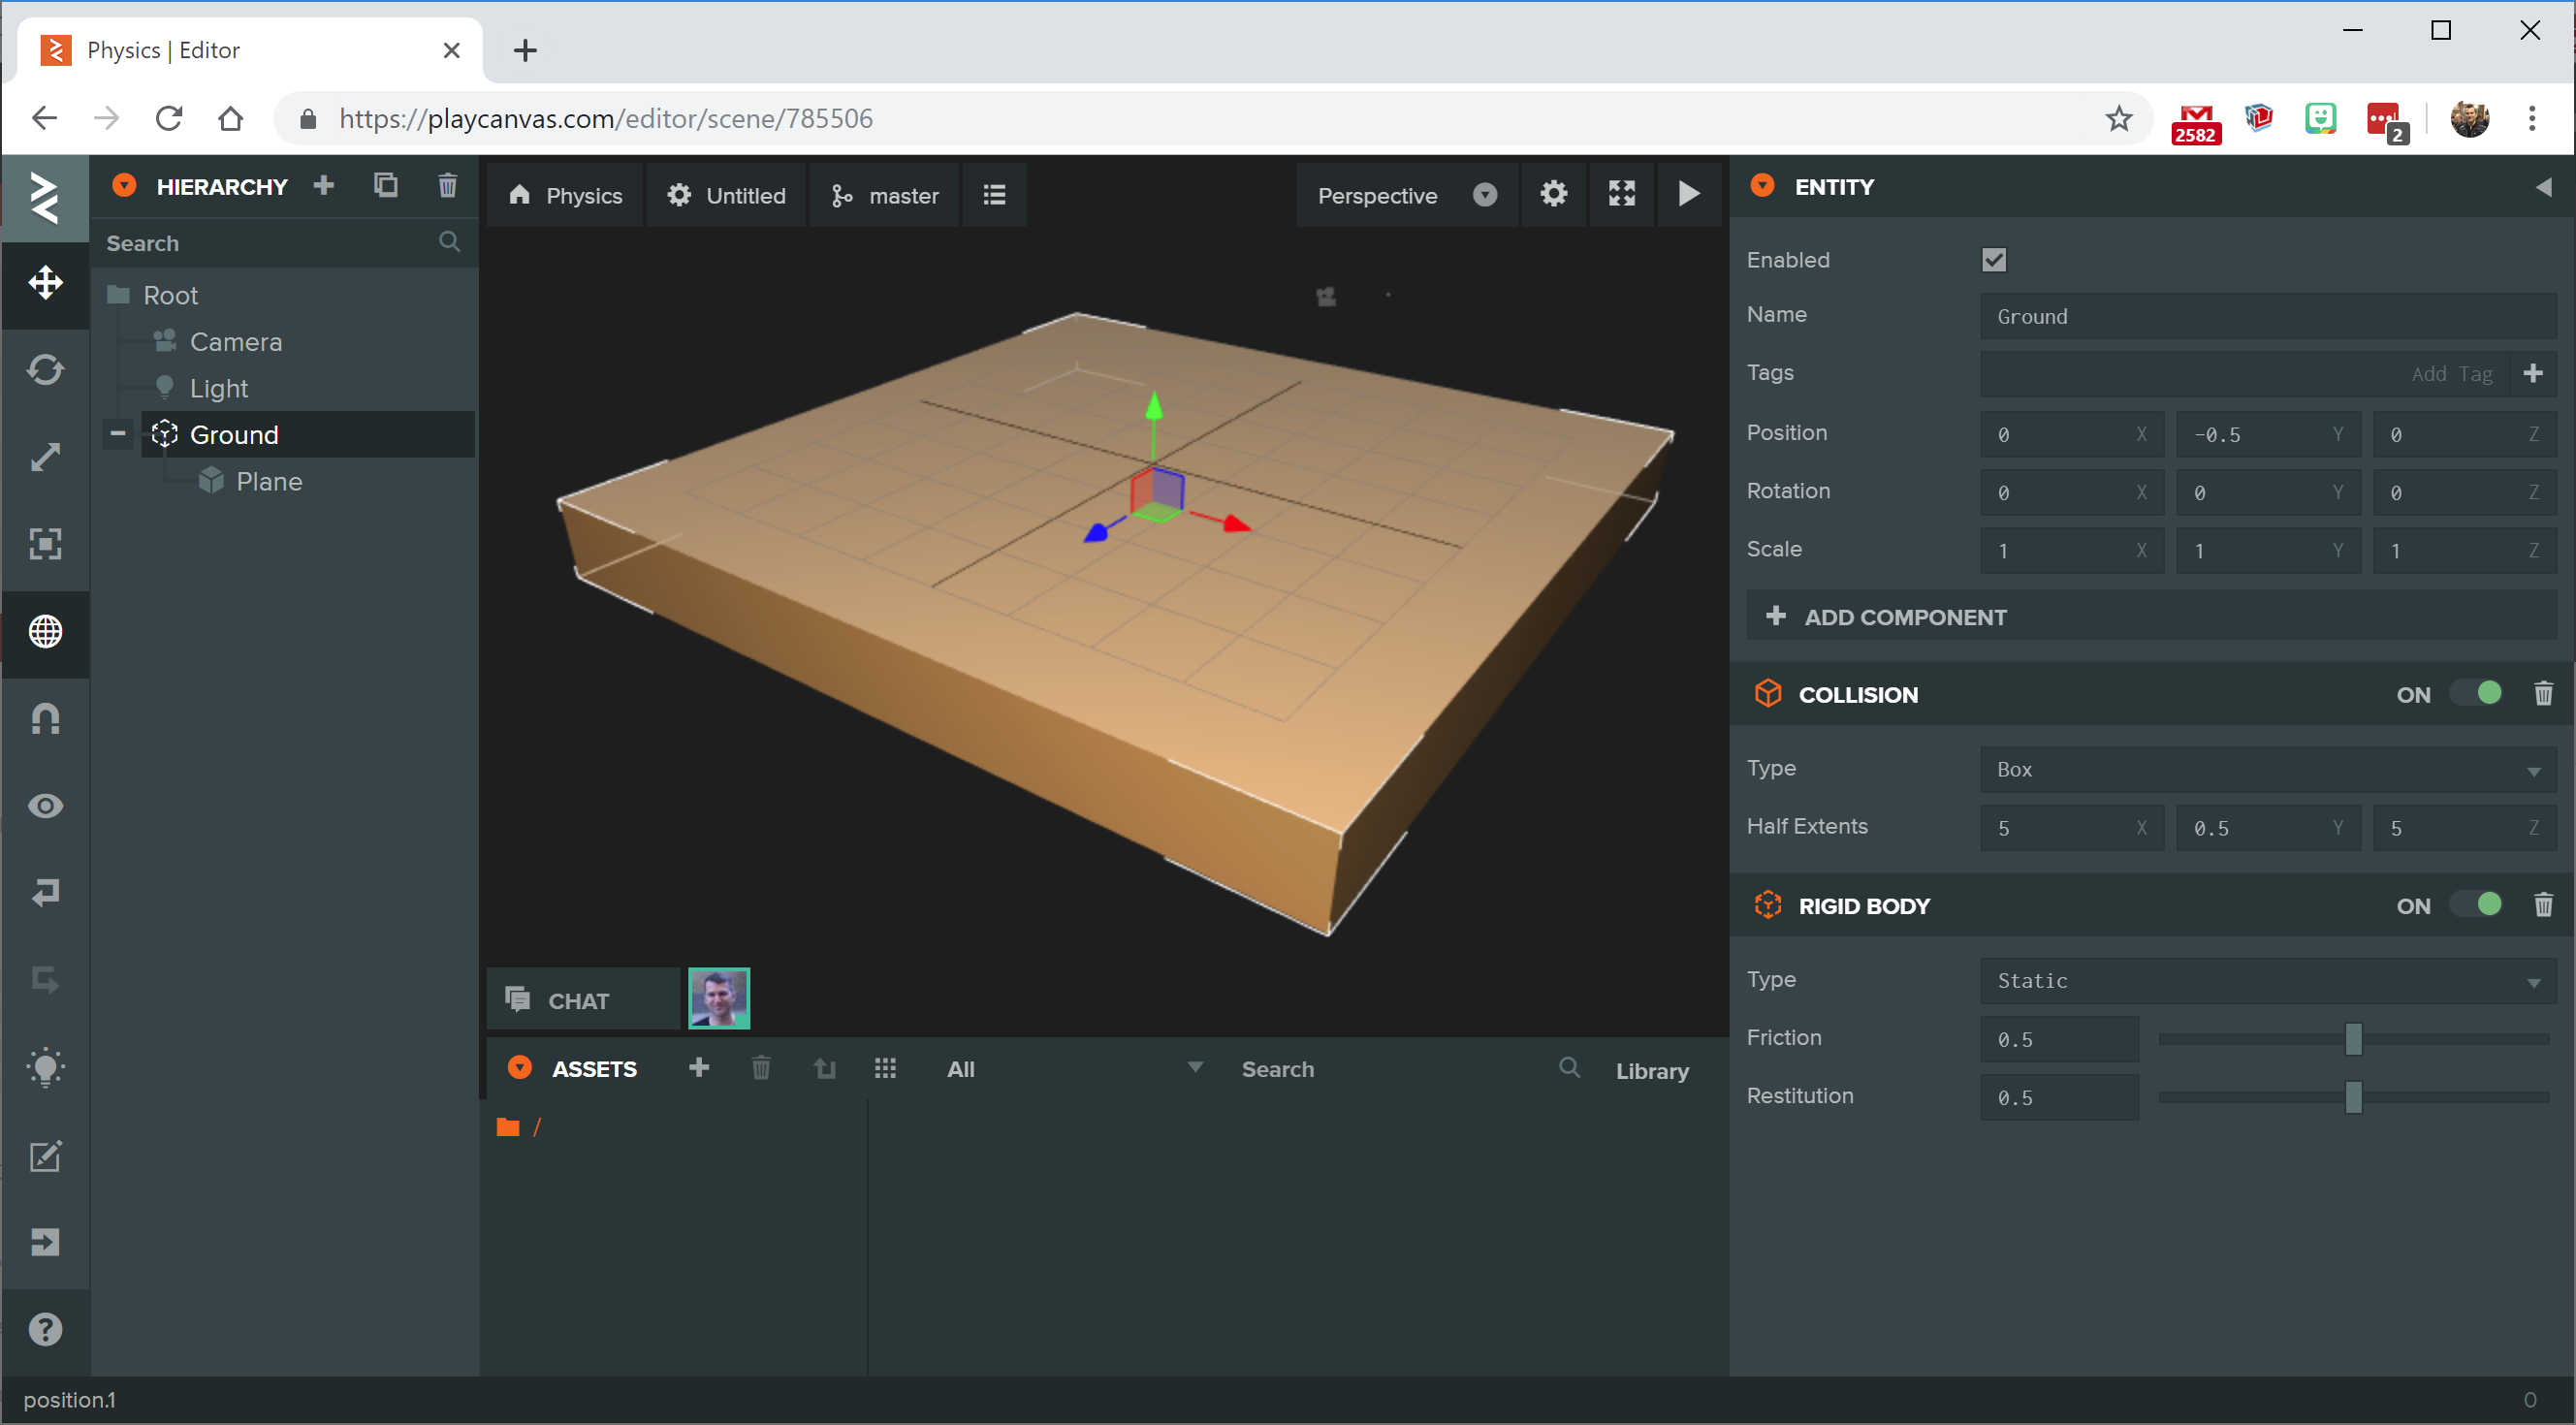
You could also set the collision component type to Mesh and assign a model asset if you want something more complex.
Creating Dynamic Bodies
Physics is all about movement so things get interesting when we create dynamic rigid bodies. Let's create a dynamic 1x1x1 box:
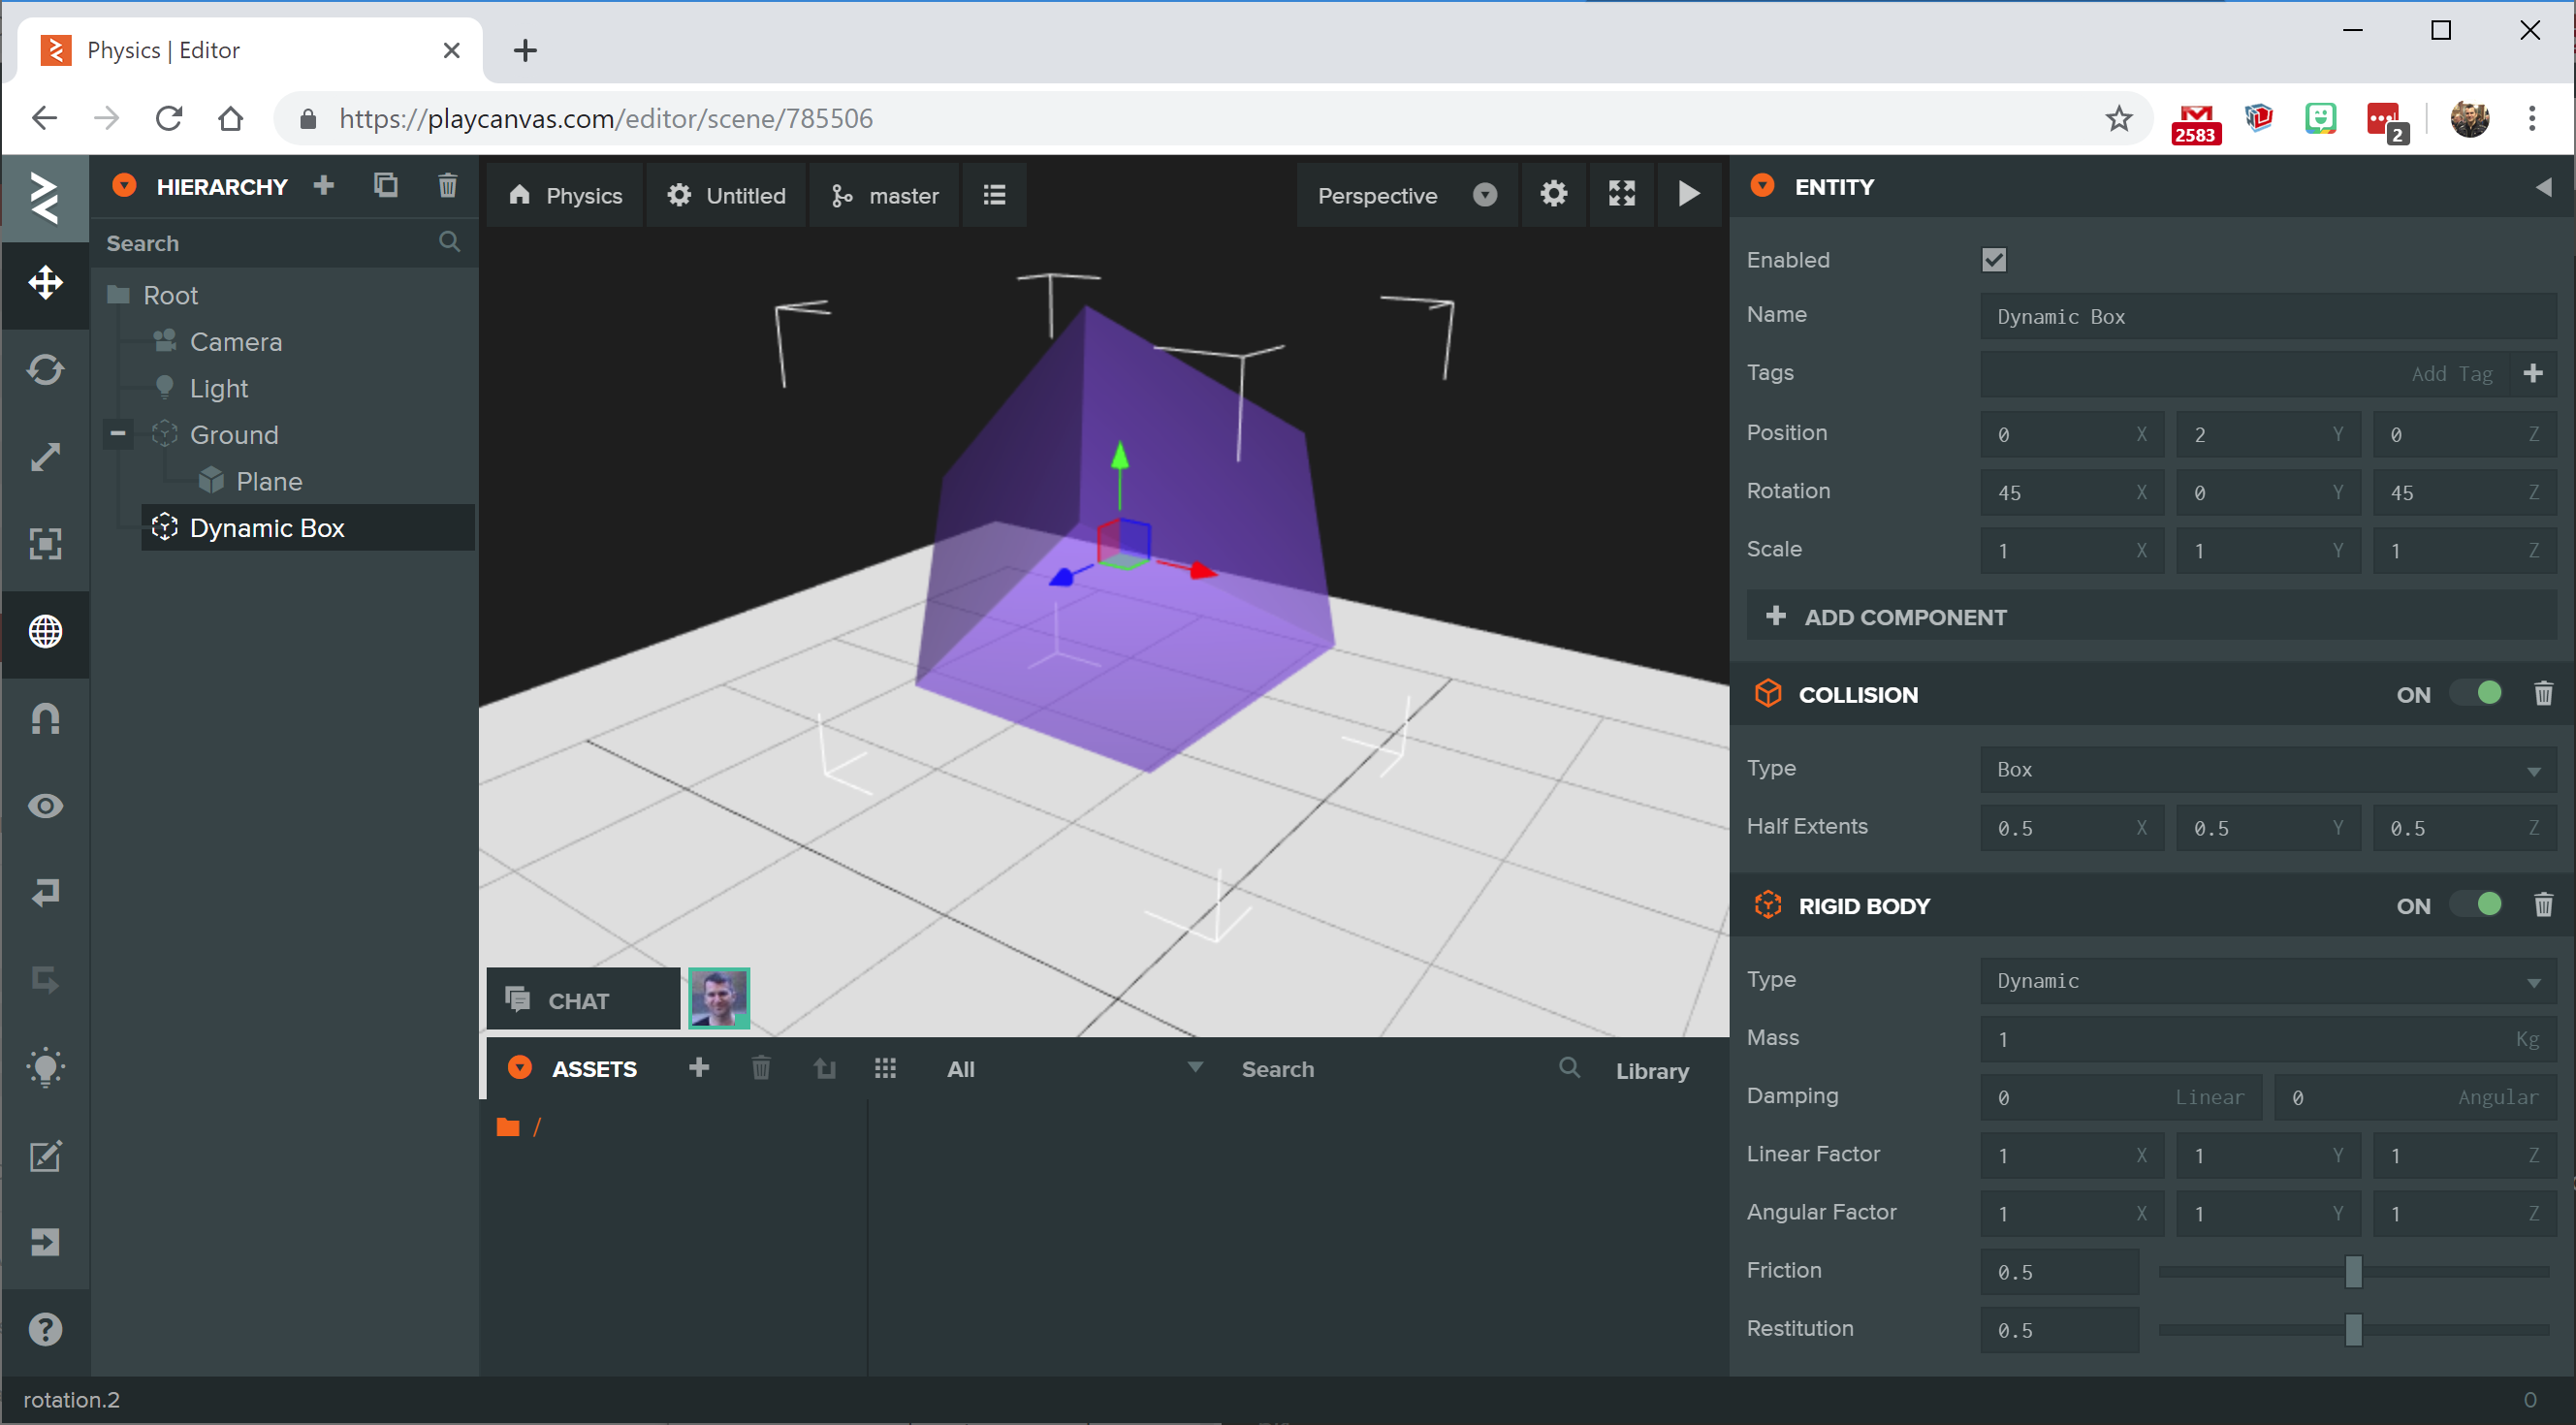
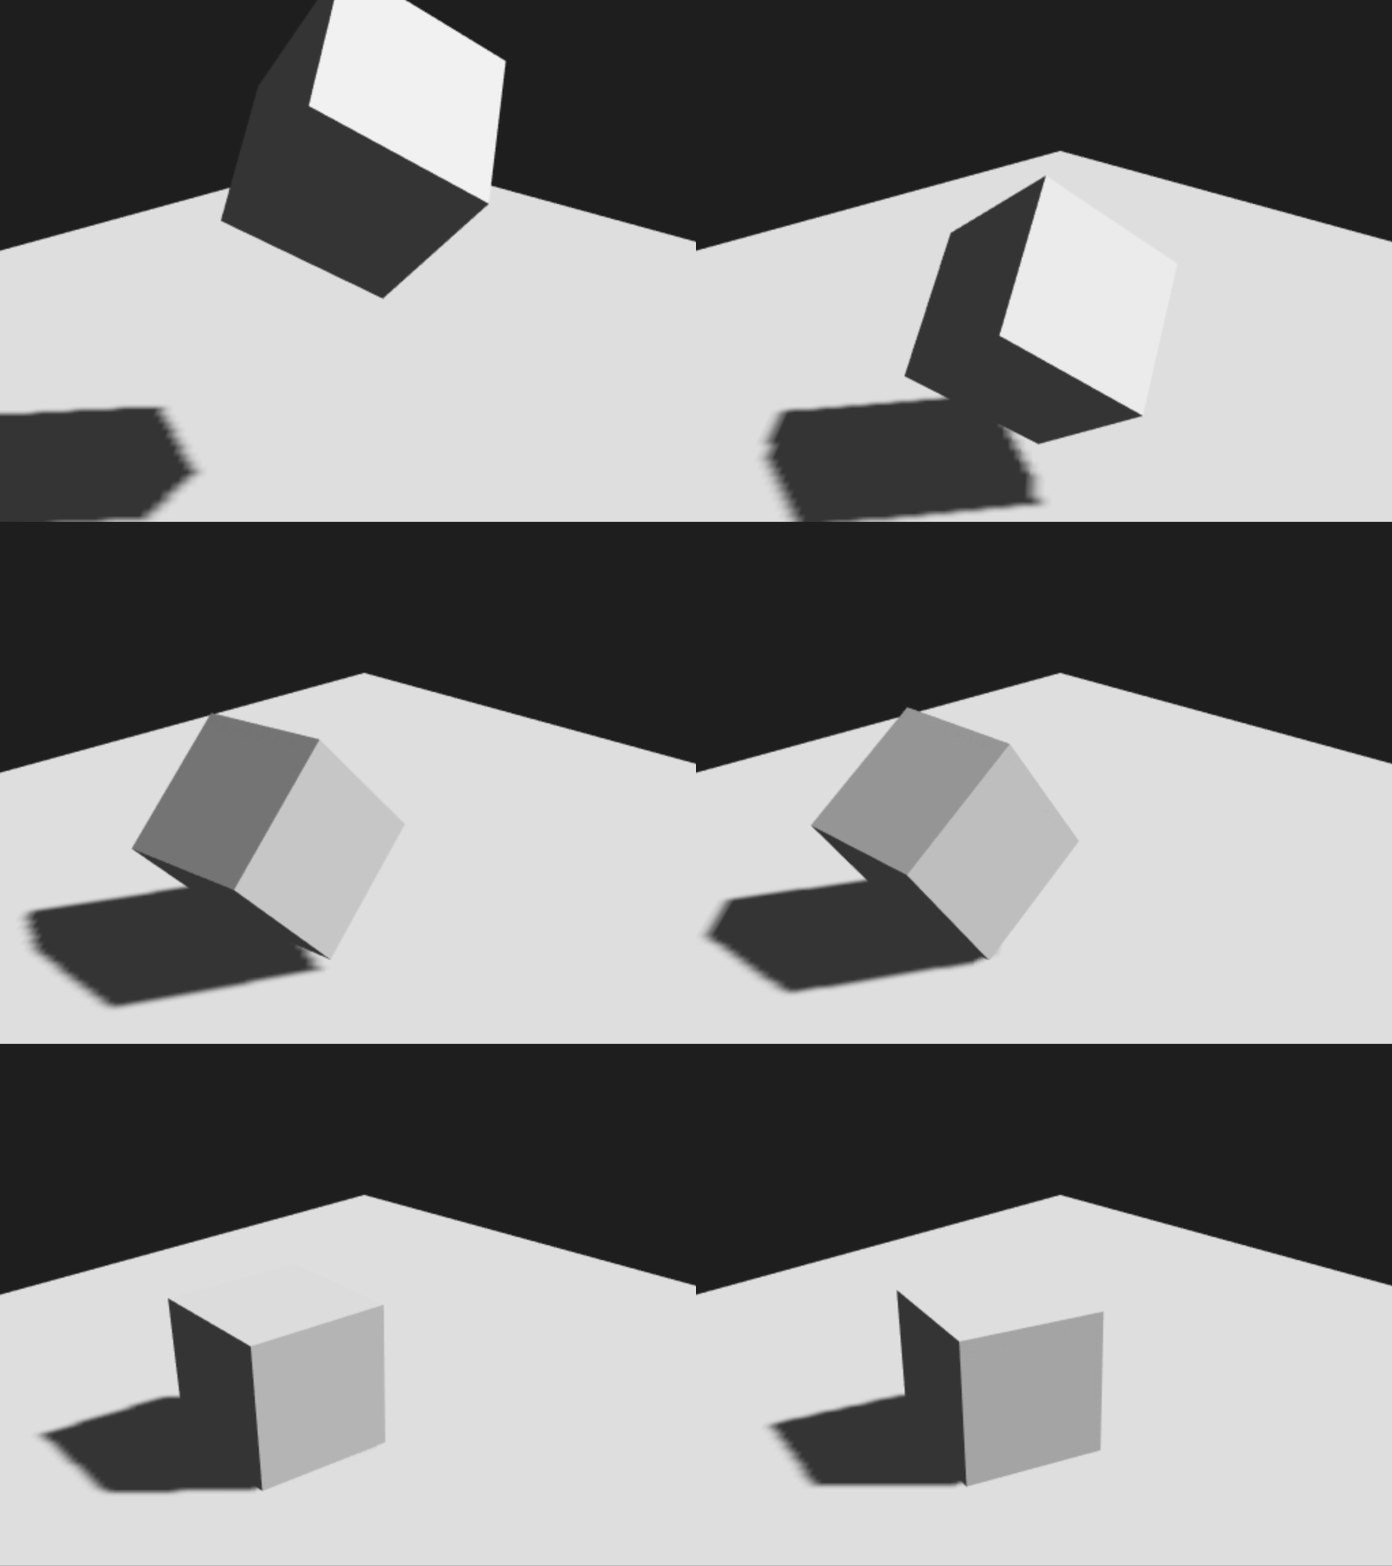
The box has been rotated so that when it collides with the static ground, it will bounce in an interesting way:
Creating Kinematic Bodies
Sometimes, it can be useful to be able to explicitly control the motion of physical objects in your scene and have these objects exert an irresistible force on other physical objects. For example, imagine a moving platform that can carry the player across a level. To achieve this, you can set a rigid body's type to Kinematic. Let's create a kinematic box:
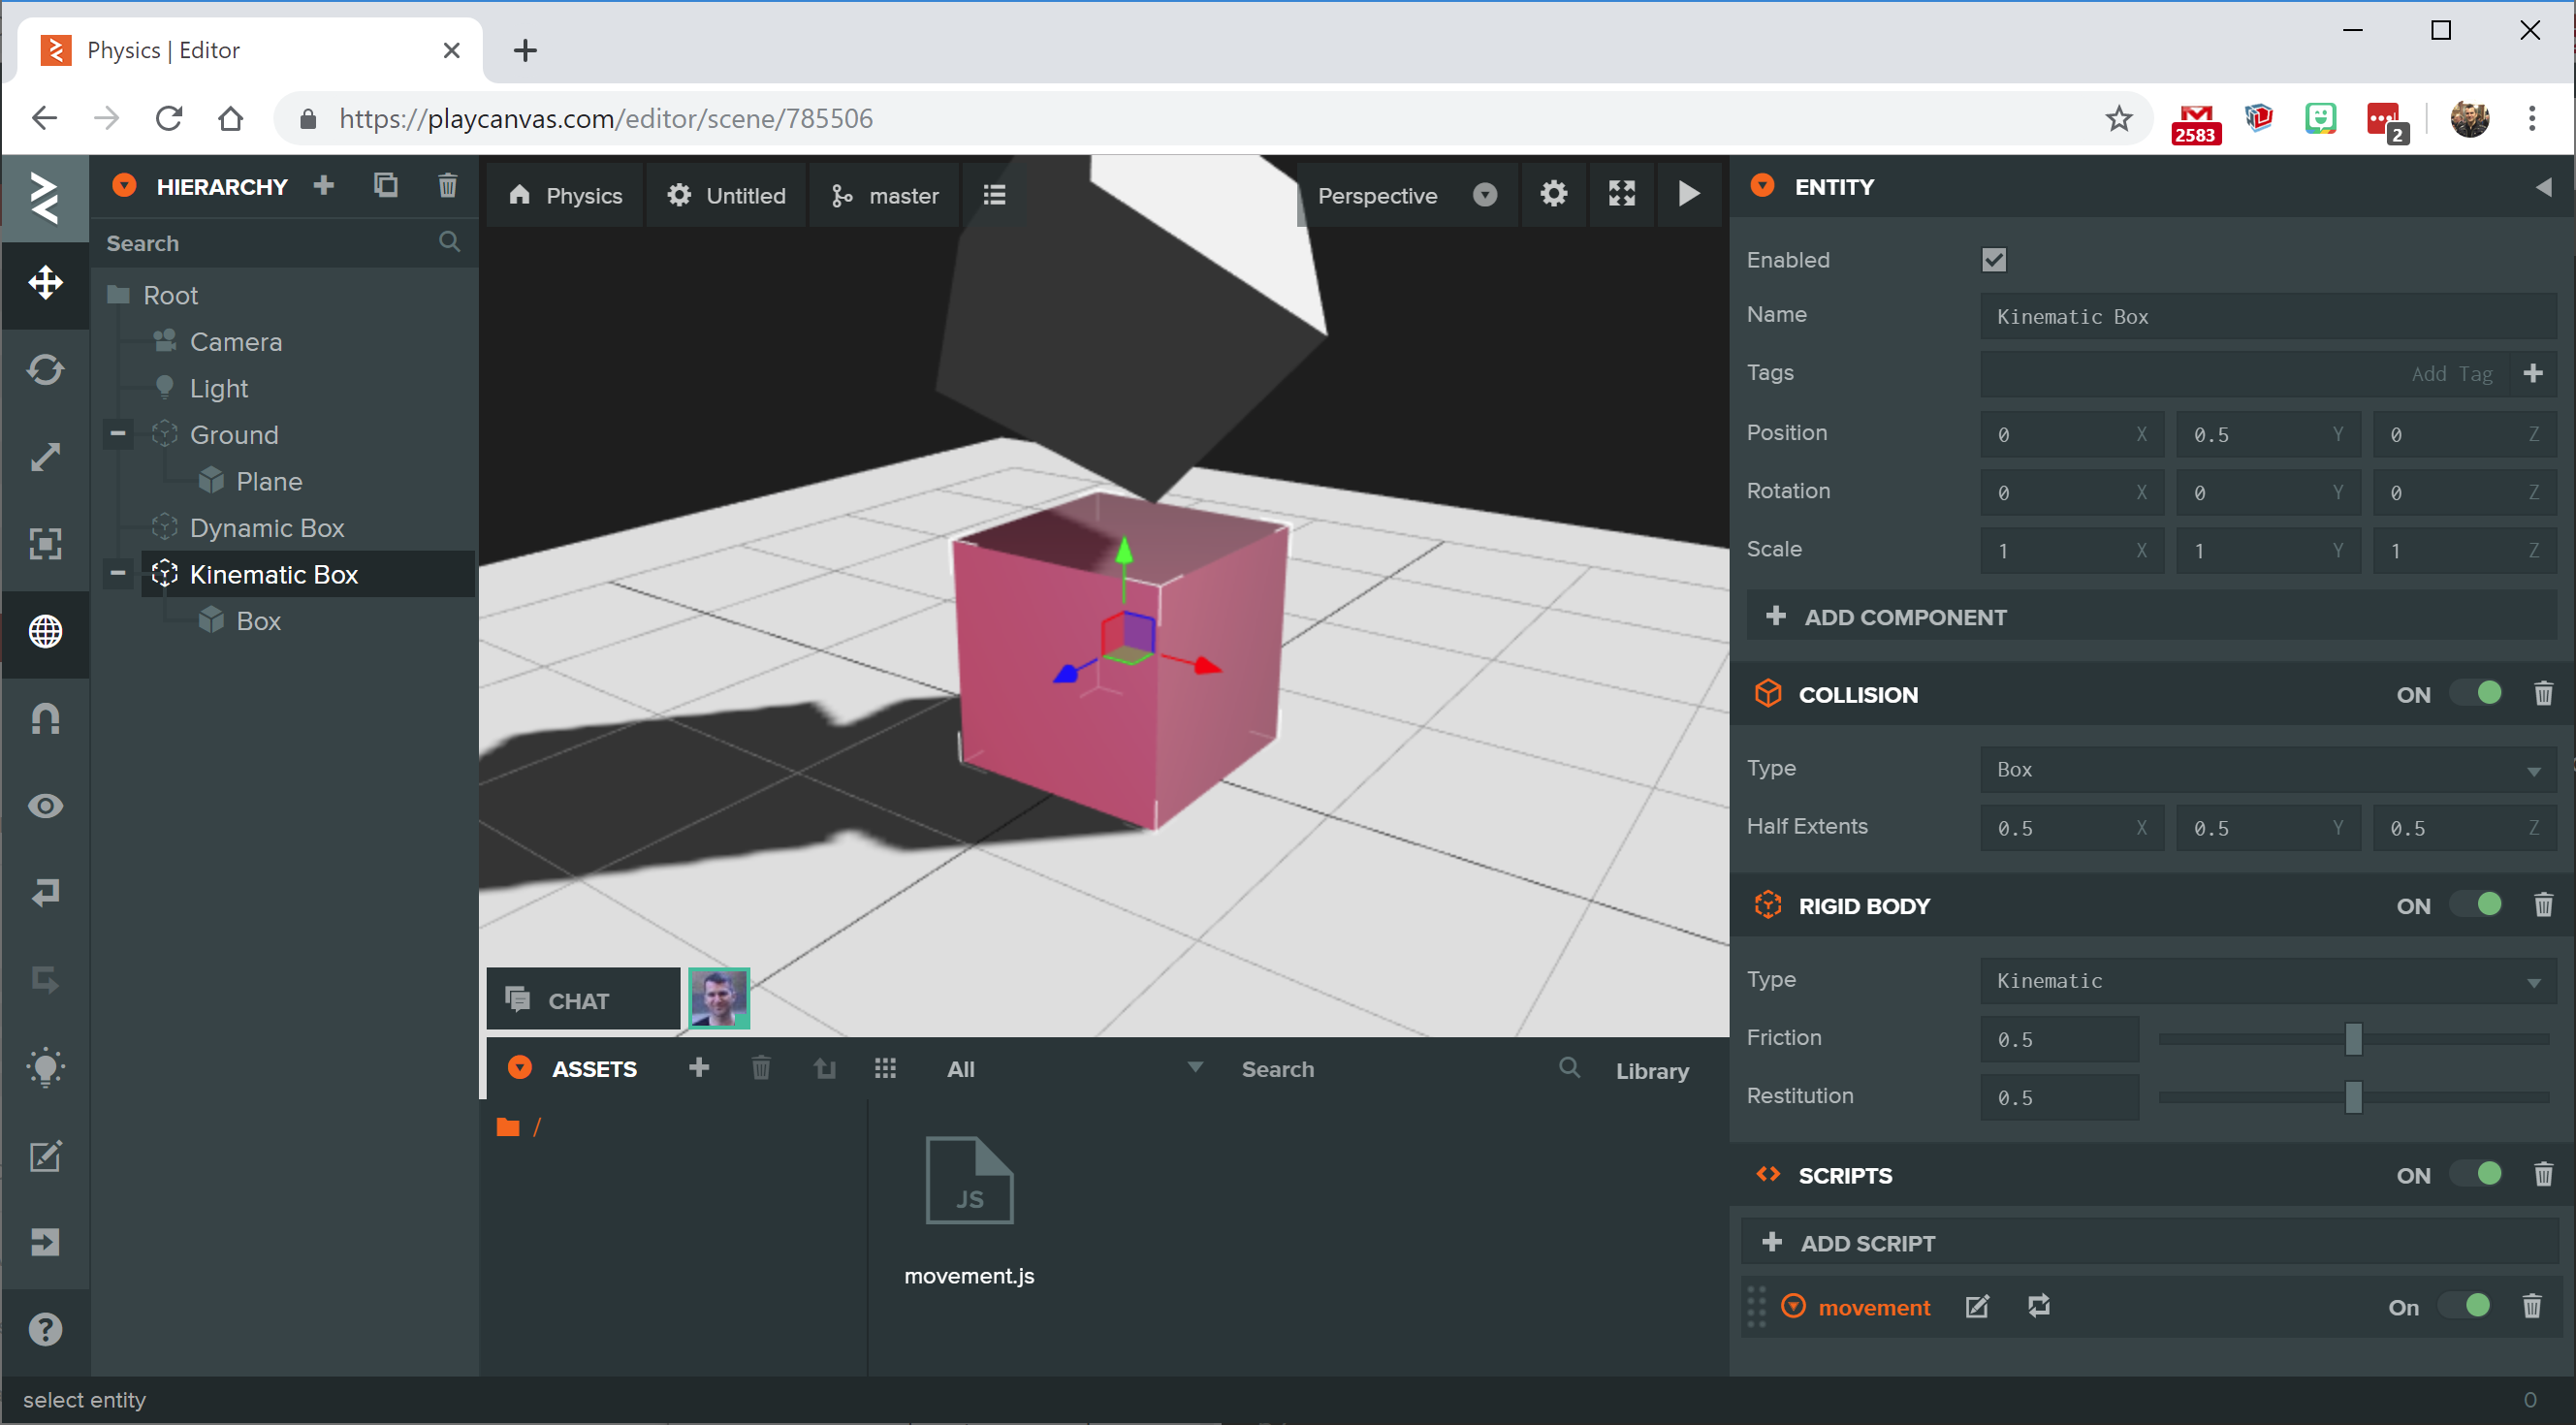
The responsibility for animating kinematic bodies is on you, the developer. You will notice that the kinematic box shown above also has a script component with a script called movement.js assigned:
- ESM
- Classic
import { Script } from 'playcanvas';

export class Movement extends Script {
    static scriptName = "movement";

    initialize() {

    }

    update(dt) {
        this.entity.setPosition(Math.sin(Date.now() / 1000), 0.5, 0);
    }
}
var Movement = pc.createScript('movement');

// initialize code called once per entity
Movement.prototype.initialize = function() {

};

// update code called every frame
Movement.prototype.update = function(dt) {
    this.entity.setPosition(Math.sin(Date.now() / 1000), 0.5, 0);
};
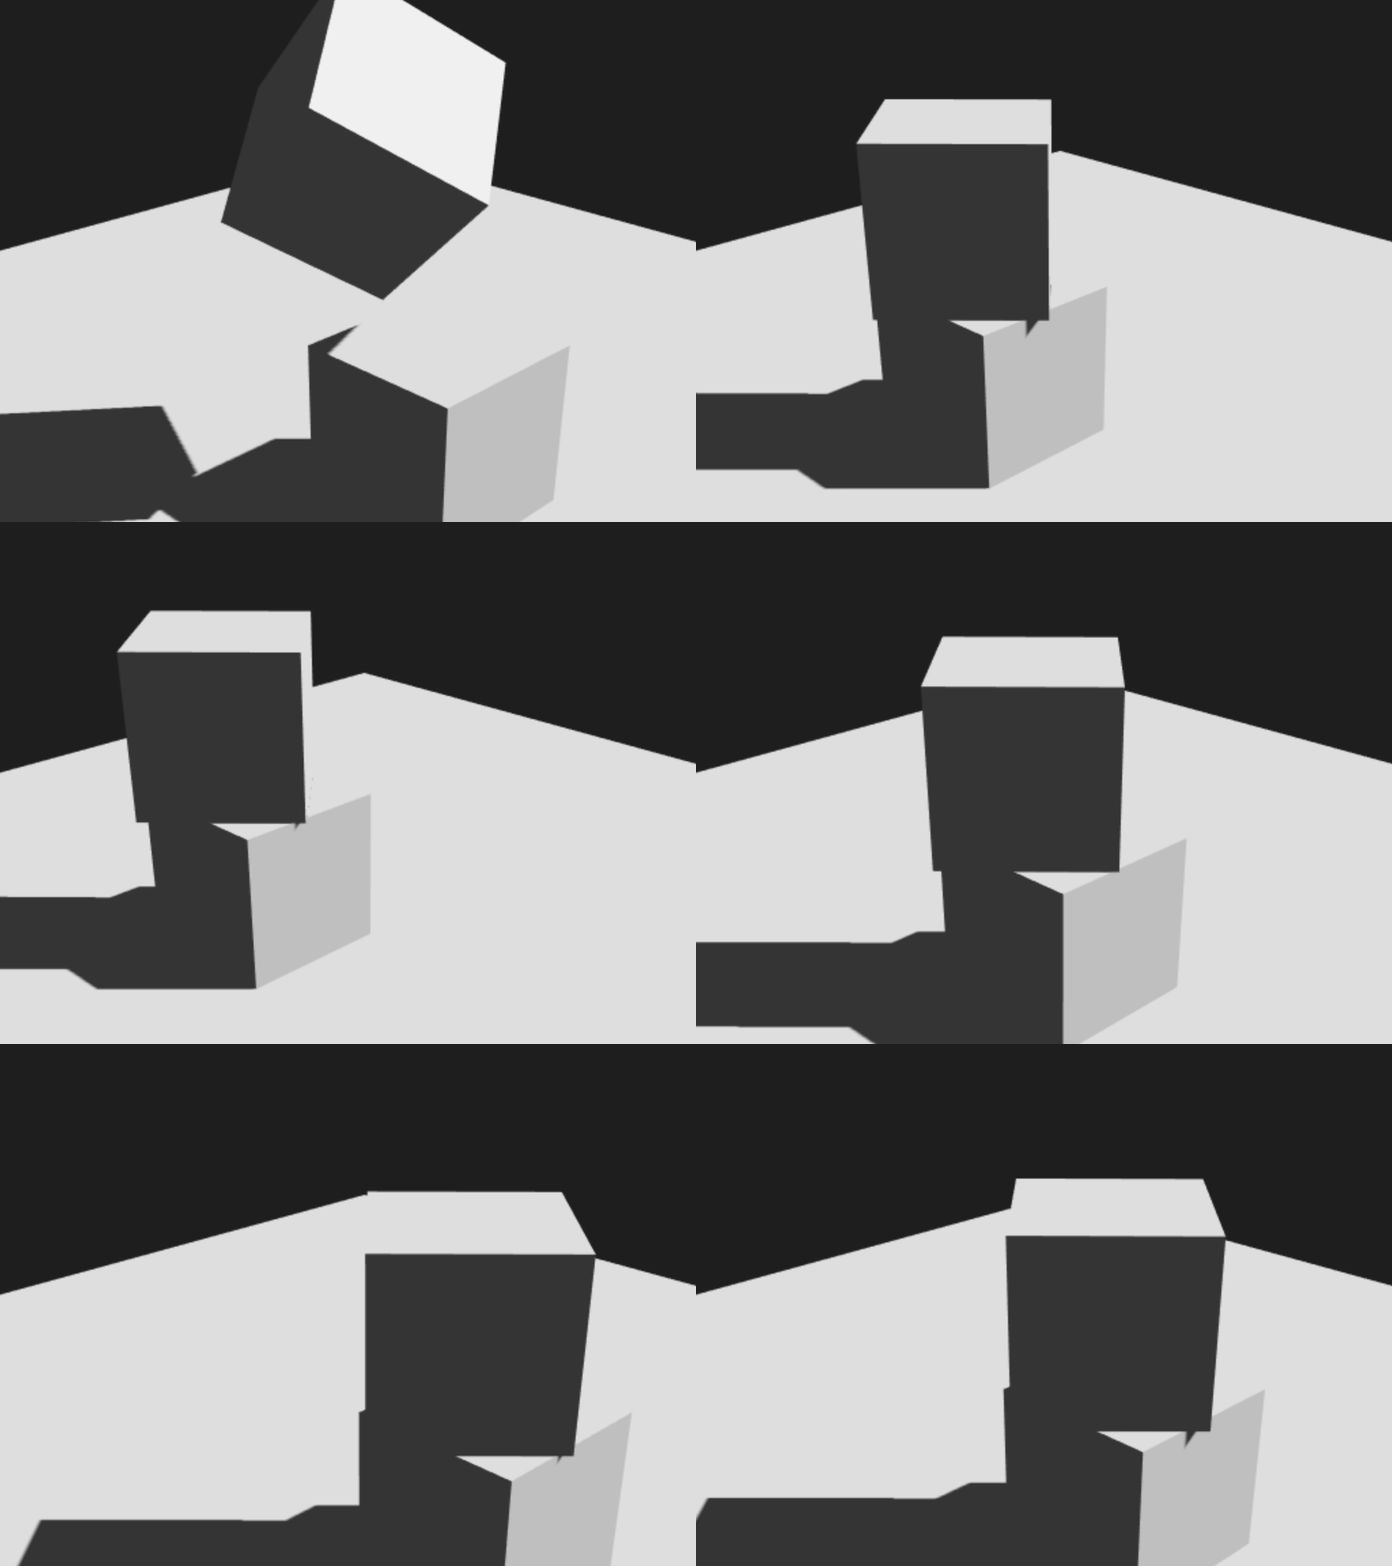
This script simply animates the box along the world x-axis using a sine function. You move kinematic bodies using the standard transformation functions on the entity like setPosition, setRotation and setEulerAngles. Now when we run the scene, the dynamic box falls on the kinematic box and is carried along on top of it:
Teleporting Dynamic Bodies
Although you can use the standard entity transformation function with kinematic bodies, this is not allowed for dynamic bodies. When creating a dynamic rigid body, you pass the responsibility for setting the position and orientation of that entity to the physics engine. This means that if you try to update the position or orientation of an entity in a script using the pc.Entity API, the functions will not have an effect. Instead, you must call the teleport function on the rigid body component which explicitly notifies the physics engine you want to momentarily update a rigid body's position and/or orientation.