HDRレンダリング
High Dynamic Range (HDR) レンダリングは、より広い範囲の光と色を捉えて表示することで、コンピュータグラフィックスにおける視覚的なリアリズムを大幅に向上させます。この技術により、最も明るいハイライトと最も深いシャドウの両方で詳細が保持され、より実物に近いシーンの表現が可能になります。HDR レンダリングの顕著な利点の1つは、物理ベースのブルーム効果を生成する能力です。これにより、強い光源が周囲の領域に自然ににじみ出し、現実世界のカメラや目の挙動を模倣します。さらに、HDR レンダリングは、標準的な表示可能範囲を超える光の値を可能にするため、より正確な反射と屈折を容易にし、印象的かつ実物に近いビジュアルを実現します。
カメラ設定
カメラは、HDR レンダリングを処理するための2つの主要な設定を提供します:
- gammaCorrection
- toneMapping
これらの設定は、レンダリングモードに基づいて構成できます。
LDR (Low Dynamic Range)
- toneMapping: LDR レンダリングの場合、目的の視覚スタイルを実現するために、任意のトーンマッピング手法を選択できます。トーンマッピングは、HDR 値を表示可能な LDR 値に圧縮します。
- gammaCorrection: 出力が色を表すため、ガンマ空間に格納されることを示すために
GAMMA_SRGBに設定します。- 出力ピクセル形式が sRGB の場合、ガンマ補正はハードウェアによって処理されます。
- それ以外の場合、ガンマエンコーディングはシェーダーコードで適用されます。
HDR (High Dynamic Range)
HDR レンダリングの場合、目標は HDR カラー情報を保持することです:
- toneMapping: HDR カラーを維持するために
TONEMAP_LINEARに設定します。 - gammaCorrection:
GAMMA_NONEに設定して無効にします。 - レンダーターゲットに互換性のある HDR ピクセル形式が使用されていることを確認してください。この形式は
GraphicsDevice.getRenderableHdrFormat()API を使用して取得できます。
HDR ディスプレイ出力
HDR モードでレンダリングする場合、Application を displayFormat パラメータが DISPLAYFORMAT_HDR に設定されるように構成することで、HDR ディスプレイ出力を有効にできます。
- toneMapping: HDR 出力がサポートされている場合、
TONEMAP_NONEに設定します。 - gammaCorrection: 低輝度値が LDR レンダリングと視覚的に類似するように、
GAMMA_SRGBに設定を維持します。 - デバイスが作成された後、
GraphicsDevice.isHdr()を使用して HDR ディスプレイ出力がサポートされているかを確認します。isHdr()がtrueを返すには、ブラウザが HDR 出力をサポートするディスプレイで実行されている必要があることに注意してください。
注: 現在、HDR ディスプレイ出力は WebGPU のみでサポートされています。他のプラットフォームでは、GraphicsDevice.isHdr() は常に false を返します。
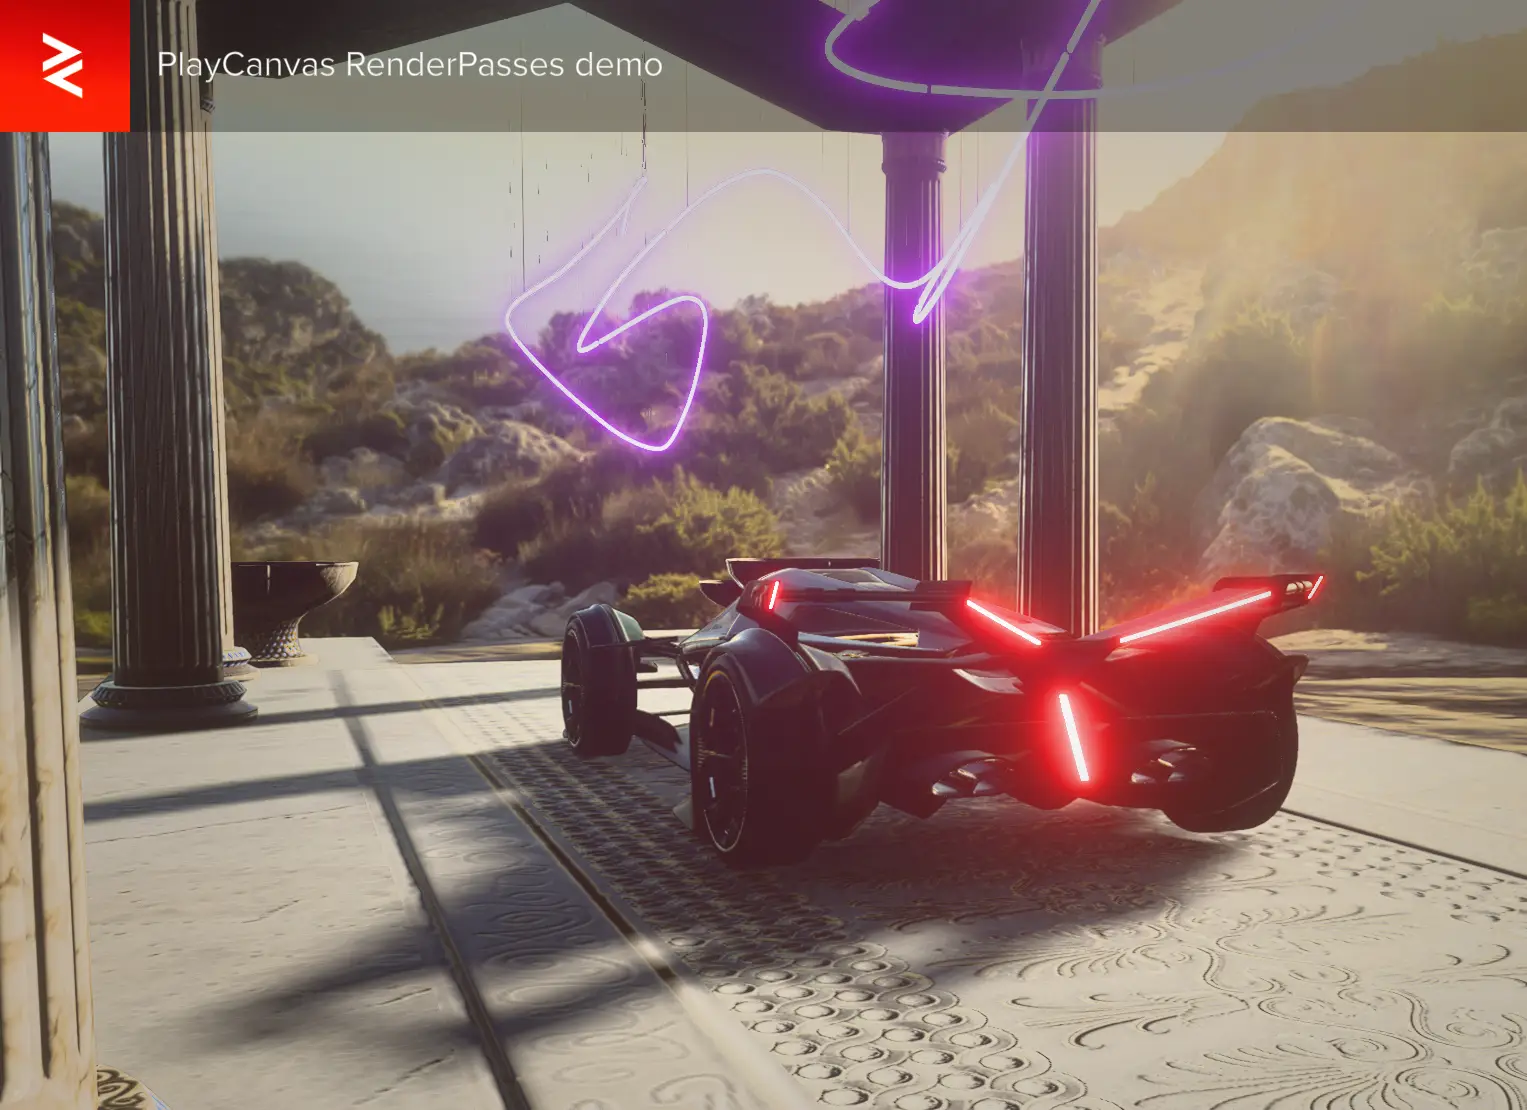
PlayCanvas Engine - CameraFrame クラス
PlayCanvas Engine は、High Dynamic Range (HDR) レンダリング、ブルーム、Screen Space Ambient Occlusion (SSAO) など、高度な効果を統合した CameraFrame クラスを通じて、包括的なレンダリング設定を提供します。この設定は、リアルなライティングとポストプロセス効果をシミュレートすることにより、視覚的な忠実度を向上させます。
CameraFrame の主要な機能
- Bloom: 光の散乱をシミュレートし、明るい領域の周囲に光の輪を作成します。
- SSAO: 隙間や角でのアンビエントライトのオクルージョンをシミュレートすることで、奥行き認識を向上させます。
- Depth of Field (DoF): カメラのフォーカス効果を模倣し、焦点面外のオブジェクトをぼかします。
- Temporal Anti-Aliasing (TAA): 時間の経過とともにギザギザのエッジを滑らかにすることで、視覚的なアーティファクトを軽減します。
- Vignette: 画像の隅を暗くすることで、中央に注意を引きます。
- Color Grading: スタイリッシュな効果のためにカラーバランスを調整します。
カメラでの CameraFrame の設定
const cameraFrame = new pc.CameraFrame(app, cameraEntity.camera);
cameraFrame.rendering.toneMapping = pc.TONEMAP_NEUTRAL;
cameraFrame.rendering.samples = 4;
cameraFrame.bloom.enabled = true;
cameraFrame.bloom.intensity = 0.01;
cameraFrame.update();
HDR bloomが効果的であるためには、シーンに明るい光源を含める必要があります。これは通常、高輝度の放射マテリアルを使用することで実現されます。例:
material.emissive = pc.Color.YELLOW;
material.emissiveIntensity = 50;
詳細については、CameraFrameのAPIドキュメントを参照してください。
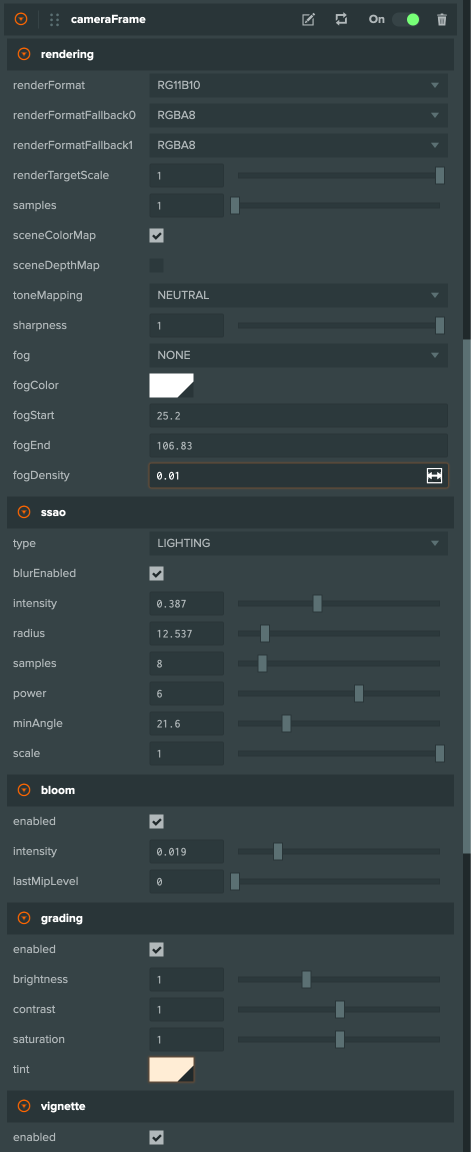
エディターでのCameraFrame
PlayCanvas Editorプロジェクト用のCameraScriptがこちらで利用可能です。このスクリプトはCameraFrameの機能をエディターのInspectorに直接統合し、高度なレンダリング機能を備えたカメラのセットアップと設定を容易にします。
使用方法
CameraScriptをプロジェクトに追加し、パースします。CameraComponentを持つエンティティに追加します。- Inspectorを使用して、トーンマッピング、ブルーム、SSAO、その他のエフェクトなど、カメラのレンダリング設定を構成します。
この統合により、複雑なカメラエフェクトのセットアッププロセスが効率化され、PlayCanvas Editor内での全体的なワークフローが向上します。
CameraFrameのヒント
- HDR bloomには、少なくとも1つのレンダリング可能な浮動小数点フォーマット(例: RG11B10、RGBA16F、またはRGBA32F)が必要です。これらのフォーマットのいずれもデバイスでサポートされていない場合、HDR bloomは自動的に無効になります。
StandardMaterialのtoneMappingプロパティは無視されます。トーンマッピングはフルスクリーンでのポストプロセスパスとして適用されるため、メッシュごとのトーンマッピング制御はできません。CameraFrameを使用する場合、2つのプロパティがトーンマッピングを制御します:CameraFrame.rendering.toneMapping–CameraFrame内でレンダリングされる3Dシーンのトーンマッピングを制御します。CameraComponent.toneMapping– ポストプロセスを含む3Dシーンがレンダリングされた後に適用されるトーンマッピングを制御します。これは通常、上部にレンダリングされるUI要素に影響を与えます。
CameraFrameを使用すると、アルファブレンドされたジオメトリの強度が異なることに気づくかもしれません。これは、ブレンドがガンマ空間でのブレンドよりも物理的に正確なリニアHDR空間で行われるためです。その結果、アルファブレンドに関連するマテリアルプロパティを調整する必要がある場合があります。