Direct Upload
If you already have a clean splat file, you don't need to use the SuperSplat Editor to publish it. The Direct Upload flow lets you push a finished splat straight to your Manage page, where you can open it in Studio or share its scene page.
This is the right path when:
- Your splat is already clean (no floaters, no unwanted background, sized appropriately).
- You produced the splat in another tool — a training pipeline, a smartphone scanner, or via the Convert utility or the splat-transform CLI.
- You want to publish quickly without round-tripping through the Editor.
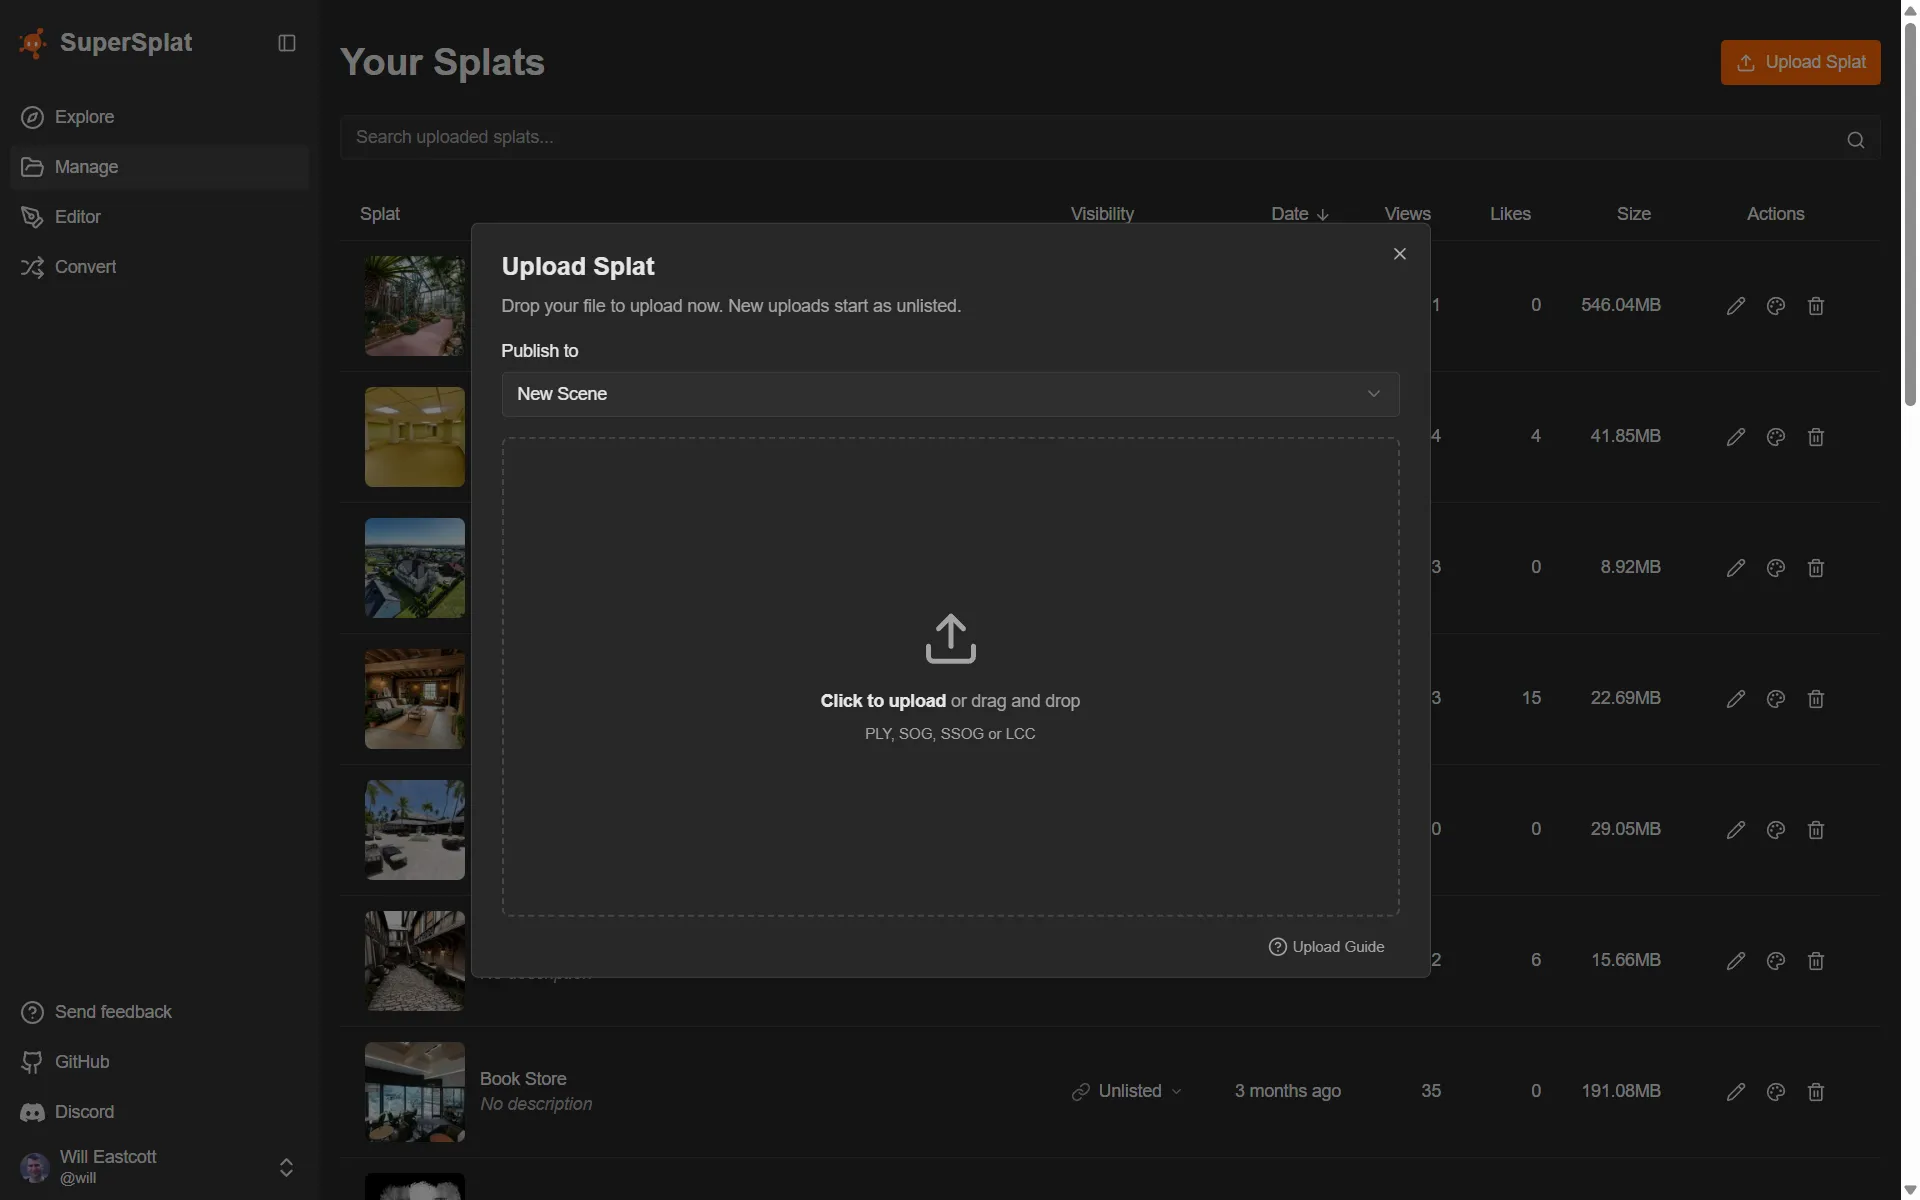
Launching the Upload dialog
There are three ways to open the Upload Splat dialog:
- The orange Upload Splat button on the superspl.at home page. The fastest path if you're not already logged in or in the manage view — you'll be prompted to sign in.
- The Upload Splat button on the Manage page.
- Navigating to superspl.at/upload, which redirects to the Manage page with the dialog open.
You must be signed in with a PlayCanvas account to upload. See Account Creation.
Supported input formats
Drag and drop, or pick from your filesystem. The dialog accepts:
| Format | File to upload | How it is validated |
|---|---|---|
| PLY | .ply | Starts with a PLY header and declares an ASCII or binary format. |
| SOG | .sog | Contains one meta.json file and the expected SOG WebP payload files. |
| Streamed SOG bundle (SSOG) | .zip | Contains lod-meta.json and one or more SOG chunk folders. See Streaming & Performance. |
| LCC | .zip | Contains exactly one .lcc file with sibling index.bin and data.bin files. |
The file contents are validated after selection. Direct Upload does not accept .compressed.ply, .ksplat, .splat, or .spz files directly; use the Convert utility or the splat-transform CLI to convert those first.
Direct Upload accepts files up to 10 GB. Larger files must be split or compressed first — try the Convert utility or the splat-transform CLI to bring file size down before uploading.
What happens after upload
The dialog moves through four stages:
- Select — choose a file (or drop one in).
- Ready — the file is validated locally. You can change it before continuing.
- Uploading — the file streams to PlayCanvas storage.
- Publishing — the platform creates the scene record.
When publishing completes, the dialog switches to the Edit Splat view for the newly created scene so you can immediately fill in metadata. The defaults are deliberately conservative:
| Field | Default |
|---|---|
| Title | Your filename with the extension removed |
| Description | (empty) |
| Visibility | Unlisted — your splat is reachable only via its direct URL |
| Downloadable | Off — visitors can view but not download the source file |
From the Edit Splat view, you can:
- Adjust Title and Description.
- Tag the Software Used to capture or train the splat (visible as chips on the scene page).
- Flip Visibility to Public to make the splat appear in Explore searches.
- Enable Downloadable and pick a Creative Commons license.
- View the public scene page, or Open in Studio to curate the viewing experience.
Errors
| Error | Cause |
|---|---|
| Unrecognized format | The file does not match one of the supported structures above. |
| File too large | The file exceeds the 10 GB limit. |
| Upload failed | Network interruption or a server-side issue. Try again; if the problem persists, check your connection. |
See also
- Publishing from the Editor — the alternative path that goes through the SuperSplat Editor
- Manage — what to do with your splat once it's uploaded
- Studio — curate the viewing experience for a published splat