Animation Clips
An animation clip is a named set of curves with a duration. Each curve holds keyframes, which are values at chosen times, and names the property it drives: the position, rotation or scale of a node, the weight of a morph target, or a property of a component. Playback interpolates between the keyframes, so a clip only needs keyframes where the motion changes. In the engine, a clip is an AnimTrack.
Clips in Models
Most clips come with a model. A GLB or glTF file can contain any number of animations, each with a name, and loading the model gives you a clip for each one.
- Engine
- Editor
- React
- Web Components
Load the file as a container asset. Its resource has an animations array of animation assets, and each asset's resource is a clip named after the animation:
const asset = new pc.Asset('robot-arm', 'container', {
    url: 'https://developer.playcanvas.com/assets/robot-arm.glb'
});
asset.ready(() => {
    for (const animation of asset.resource.animations) {
        const track = animation.resource;
        console.log(track.name, track.duration); // idle 4.03, pick 5.03, ...
    }
});
app.assets.add(asset);
app.assets.load(asset);
Upload a GLB or FBX file to the Assets panel, and the Editor creates an Animation asset for each animation in it, next to the model. With Convert to GLB on in the Asset Import settings, FBX files are converted to GLB on import, and the same settings choose how imported animations are named and sampled.
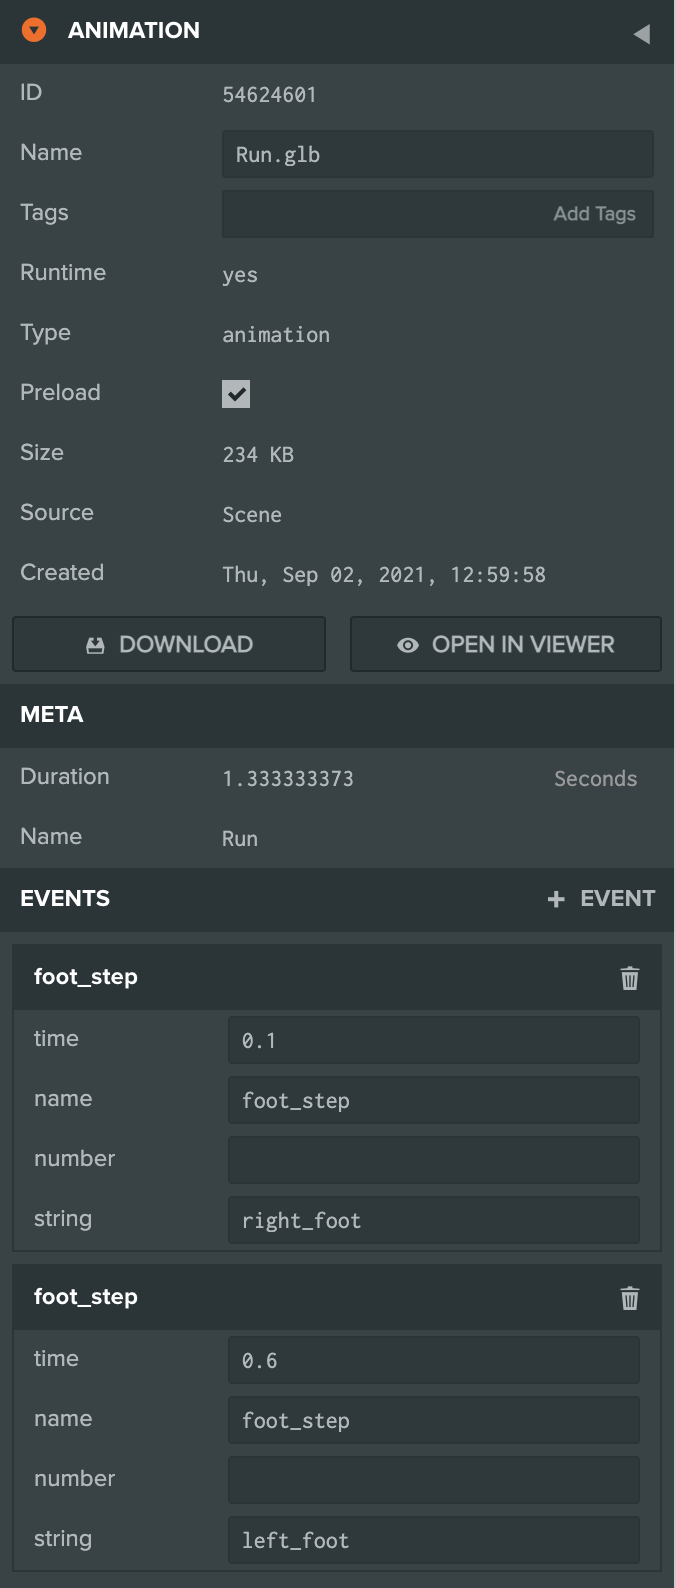
Select an animation asset to see its duration and name in the Inspector, and to preview it on a model.
useModel() loads a GLB as a container asset, whose resource holds the clips:
import { useModel } from '@playcanvas/react/hooks';

const { asset } = useModel('https://developer.playcanvas.com/assets/robot-arm.glb');
const tracks = asset?.resource.animations.map(animation => animation.resource);
A <pc-asset> loads the file, and a <pc-anim-clip> inside the model's <pc-anim> picks a clip by name. Its asset attribute takes the clip from another file instead of the model:
<pc-asset id="robot-arm" src="https://developer.playcanvas.com/assets/robot-arm.glb"></pc-asset>
<pc-asset id="calibrate" src="https://developer.playcanvas.com/assets/robot-arm-calibrate.glb" type="animation"></pc-asset>
<pc-scene>
    <pc-model asset="robot-arm">
        <pc-anim clip="calibrate">
            <pc-anim-clip name="idle"></pc-anim-clip>
            <pc-anim-clip name="calibrate" asset="calibrate"></pc-anim-clip>
        </pc-anim>
    </pc-model>
</pc-scene>
How Clips Bind
A clip does not hold references to entities. Each curve names its target by path: the names of the nodes from the root of the animated hierarchy down to the target. When a clip is assigned to an anim component, the component looks each path up among the descendants of its entity, or of its Root Bone (rootBone) when one is set, and binds the curve to the node it finds. Curves whose nodes it cannot find are ignored.
This has three consequences:
- One clip animates many models. Any model whose nodes have the same names can play a clip, so one set of animations can serve every character built on the same skeleton.
- Clips can live in their own files. A GLB that contains only animations, with no meshes, is a small way to ship clips. Load it as a container like any other, and assign its clips to a model's component.
- Binding happens when a clip is assigned. If nodes are added to the hierarchy afterwards, for example because a model finished loading later, call
entity.anim.rebind()so that the component looks them up again. Web Components does this for you.
// play a clip from an animation-only GLB on a model whose nodes have the same names
const walk = walkAsset.resource.animations[0].resource;
character.anim.assignAnimation('Walk', walk);
Building Clips in Code
You can build a clip from keyframes yourself, to animate entities that came from no model, or properties that no model animates. A clip is made of three kinds of object:
AnimDataholds keyframe data: a flat array of numbers, with the number of components in each value. Times have one component, positions three, and rotations, as quaternions, four.AnimCurvelinks one set of times to one set of values, names the properties they drive, and sets the interpolation between keyframes:pc.INTERPOLATION_STEP,pc.INTERPOLATION_LINEARorpc.INTERPOLATION_CUBIC.AnimTrackis the clip: a name, a duration, the times and values, and the curves.
A curve's path has three parts. entityPath is the names of the entities from the anim component's entity down to the target, starting with the component's own entity. component is graph for the target's transform, or the name of one of its components. propertyPath names the property: localPosition, localRotation or localScale for a transform, or a property of the component, such as a light's intensity or color.
import * as pc from 'playcanvas';

// create the application with the component systems it uses
const canvas = document.getElementById('application');
const device = await pc.createGraphicsDevice(canvas, {
    deviceTypes: [pc.DEVICETYPE_WEBGPU]
});
device.maxPixelRatio = Math.min(window.devicePixelRatio, 2);

const options = new pc.AppOptions();
options.graphicsDevice = device;
options.componentSystems = [
    pc.RenderComponentSystem,
    pc.CameraComponentSystem,
    pc.LightComponentSystem,
    pc.AnimComponentSystem
];

const app = new pc.AppBase(canvas);
app.init(options);
app.setCanvasFillMode(pc.FILLMODE_FILL_WINDOW);
app.setCanvasResolution(pc.RESOLUTION_AUTO);
window.addEventListener('resize', () => app.resizeCanvas());
app.start();

app.scene.ambientLight = new pc.Color(0.1, 0.1, 0.12);

const camera = new pc.Entity('camera');
camera.addComponent('camera', {
    clearColor: new pc.Color(0.05, 0.06, 0.09)
});
camera.setPosition(0, 2, 5);
camera.lookAt(0, 0.8, 0);
app.root.addChild(camera);

const floorMaterial = new pc.StandardMaterial();
floorMaterial.diffuse = new pc.Color(0.5, 0.5, 0.55);
floorMaterial.update();

const floor = new pc.Entity('floor');
floor.addComponent('render', { type: 'plane', material: floorMaterial });
floor.setLocalScale(20, 1, 20);
app.root.addChild(floor);

// the beacon is the root of the hierarchy that the clip animates: a glowing cube,
// with an omni light inside it
const beacon = new pc.Entity('beacon');
app.root.addChild(beacon);

const glow = new pc.StandardMaterial();
glow.emissive = new pc.Color(1, 0.55, 0.2);
glow.update();

const cube = new pc.Entity('cube');
cube.addComponent('render', { type: 'box', material: glow, castShadows: false });
beacon.addChild(cube);

const lamp = new pc.Entity('lamp');
lamp.addComponent('light', { type: 'omni', color: new pc.Color(1, 0.55, 0.2), range: 6 });
cube.addChild(lamp);

// the keyframe times, in seconds, and two sets of values at those times
const times = new pc.AnimData(1, [0, 0.5, 1]);
const positions = new pc.AnimData(3, [0, 0.4, 0, 0, 1.6, 0, 0, 0.4, 0]);
const intensities = new pc.AnimData(1, [0.5, 3, 0.5]);

// each curve links the times to one set of values, and names the property it drives
const curves = [
    new pc.AnimCurve([{ entityPath: ['beacon', 'cube'], component: 'graph', propertyPath: ['localPosition'] }], 0, 0, pc.INTERPOLATION_LINEAR),
    new pc.AnimCurve([{ entityPath: ['beacon', 'cube', 'lamp'], component: 'light', propertyPath: ['intensity'] }], 0, 1, pc.INTERPOLATION_LINEAR)
];
const track = new pc.AnimTrack('bob', 1, [times], [positions, intensities], curves);

// play the clip on the beacon
beacon.addComponent('anim', { activate: true });
beacon.anim.assignAnimation('bob', track);
Some things to try:
- Make the cube sink below the floor by changing the first and last heights from
0.4to-0.5. - Add a keyframe: put
2at the end of the times, three more numbers at the end of the positions and one more intensity, and raise the track's duration to2. - Swap
pc.INTERPOLATION_LINEARforpc.INTERPOLATION_STEP, and the values jump from keyframe to keyframe instead of moving between them.
The Component Properties example builds two clips in code that animate the color and rotation of two spot lights. In the Examples Browser, press Flash in the controls panel to cross-fade from the steady green clip to the flashing red one, and press it again to go back:
See Also
- Playing Animations - Playing, switching and timing clips
- Animation Events - Adding events to clips
- Animation Asset - The Editor's animation asset inspector and import settings
- Supported Formats - The model formats that PlayCanvas loads
- AnimTrack, AnimCurve and AnimData - The engine API reference